Part 1: Sound deadening
Step 1: Measure
Prior to ordering sound deadening, you may wish to roughly measure the area you will be covering. Remember to account for the wheel arches and doors when mentally calculating how much product you will need. You may also wish to apply it to the floor – however, we don’t deem this to be necessary.
Sound deadening WILL be effective with as little as 25% coverage.
We used one roll of Dodo Dead Mat Hex on our Citroen Relay L3H2. We believe this roll would be sufficient to cover any similarly sized van.
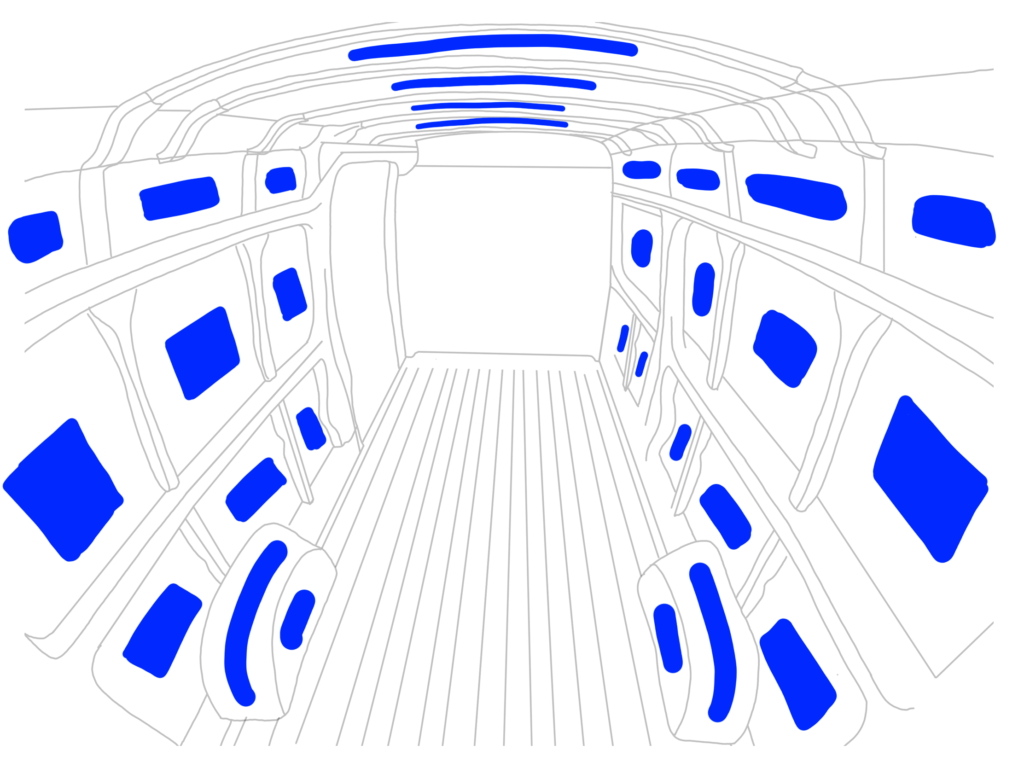
The diagram below is where we would recommend applying the product. Obviously, you may wish to do more (or less) depending on your budget.. and sensitivity to noise!
Step 2 – Cut the sound proofing
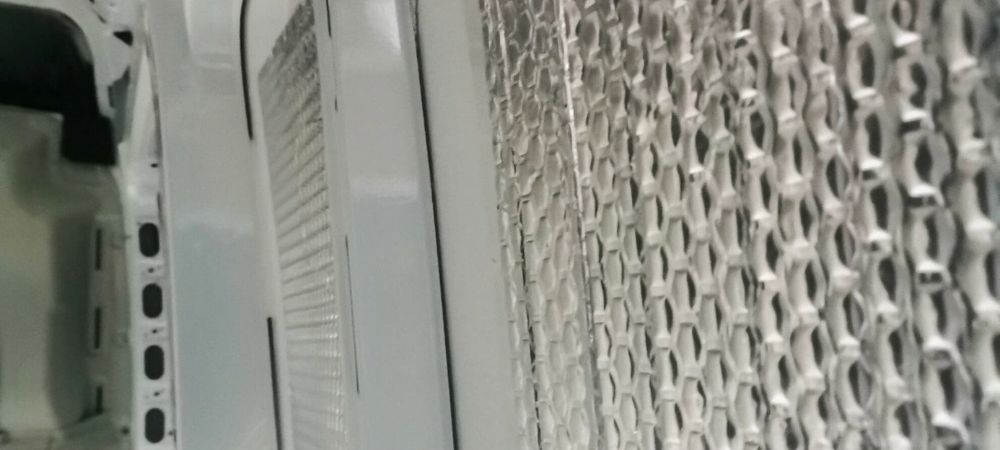
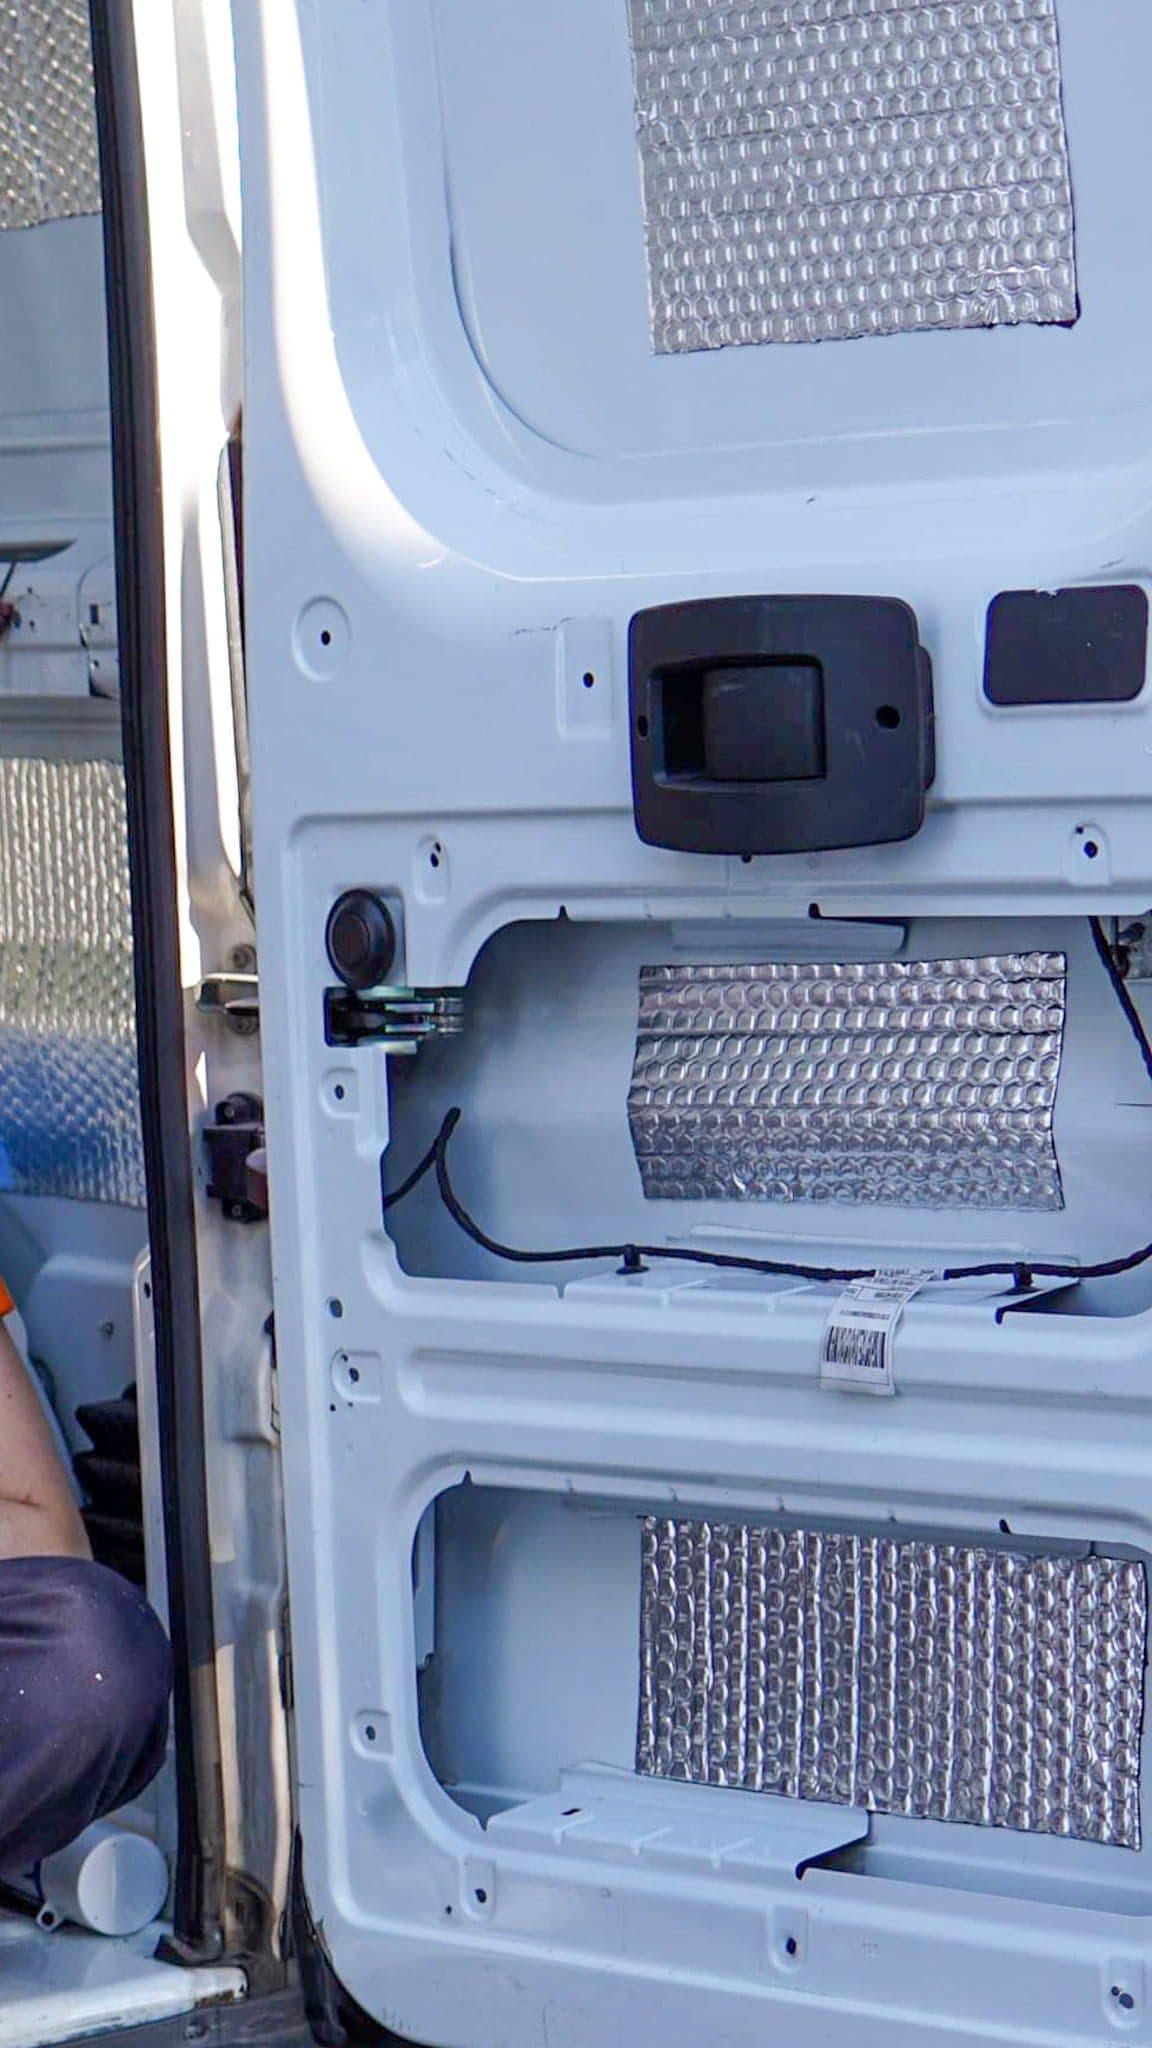
If you opted to buy a roll (which we recommend) as opposed to pre-cut sheets, you will need to divide it up to cover every panel in the van.
Using a roll allows you to cut sheets to fit the unique shapes and different panel sizes in the van without any wastage. Make sure each panel is covered at least 25% for optimal results. Prioritise the larger panels first. For best results, make sure the sound deadening is reasonably evenly spaced.
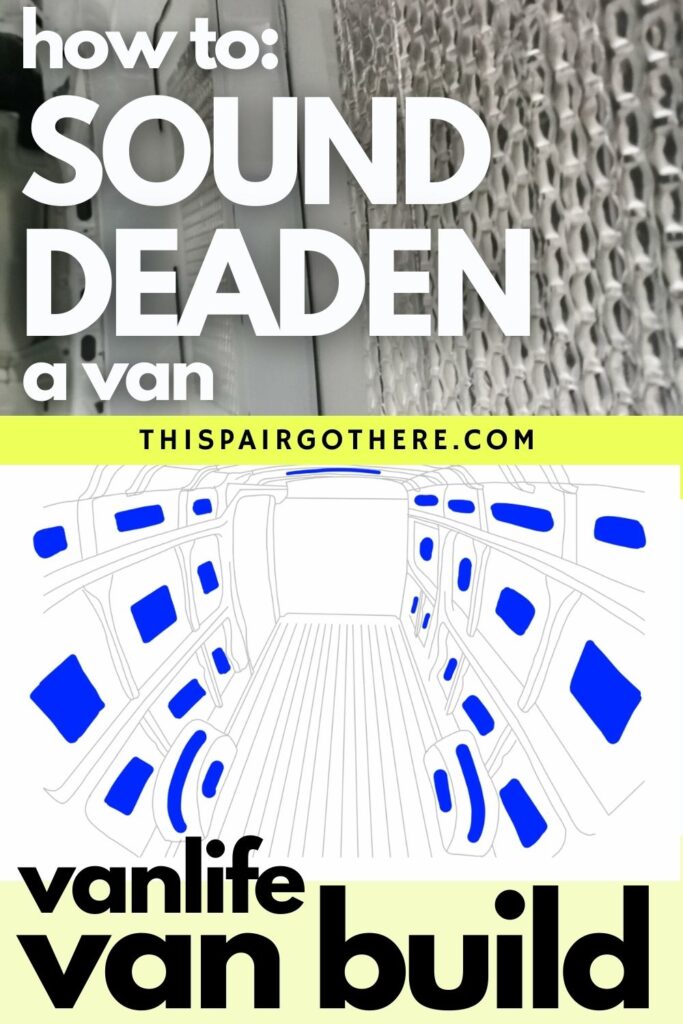
The sound deadening can be cut with a Stanley knife, or even just a good pair of scissors. We recommend using safety gloves when dealing with this material as it can be sharp.
Step 3 – Apply the sound deadening
It is extremely easy to apply, simply peel the paper backing off and stick it to the van. Work across the piece for a smooth application and to eliminate the chance of creases.
Note: if you are applying it below 10•C you may wish to heat it up with a heat gun (or even a hairdryer) to make it more malleable.
Part 2: Applying adhesive to the ribs
A cheap and effective way reduce the noise coming from you van is to apply adhesive to the ribs of your van.
We used Sikaflex EBT.
This simple act should remove any excess rattling, especially if your van is slightly older.
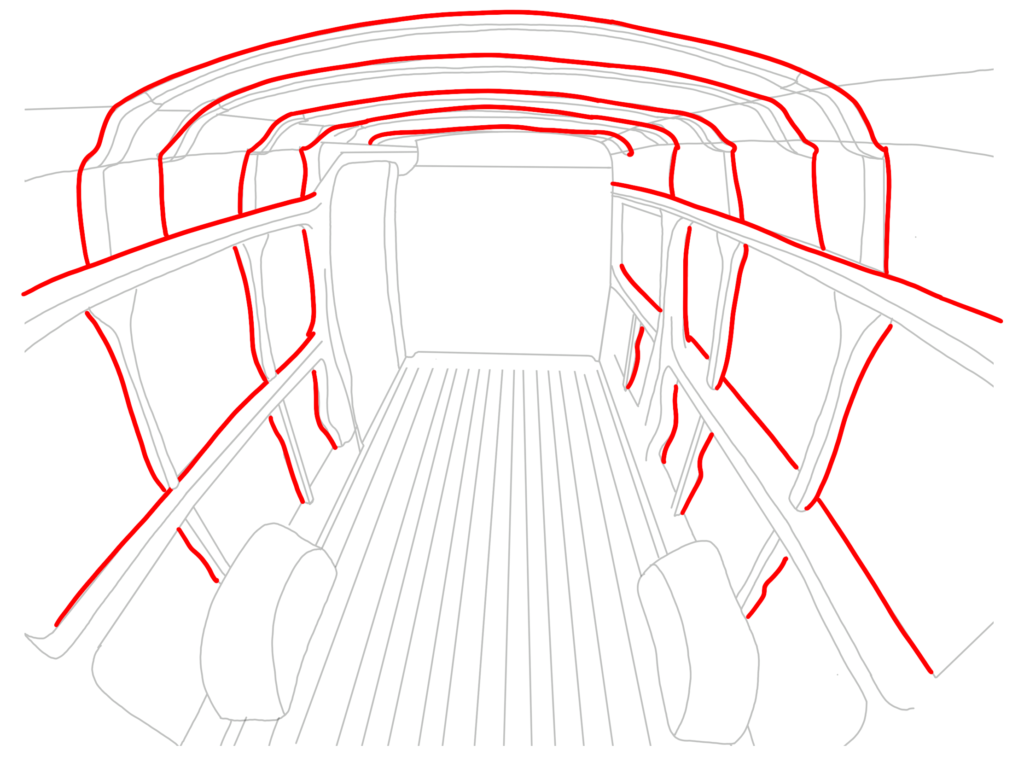
The diagram shows the recommended area to apply adhesive.
Conclusion
Unfortunately, due to the construction of a van, it will never be a perfectly silent rolling haven. However, if you choose to follow these simple steps it will be a hell of a lot quieter than if you don’t! If you are considering removing the bulkhead of your van, you will be exposed to a LOT more noise and therefore we would recommend soundproofing it as much as possible!
Feel free to ask us questions regarding soundproofing, whether it is about materials, price, time, or whatever else. You can always find us in the comments.
Next Step: Creating a van floor