


Having a bike rack on your camper is such a luxury! Make sure you choose the best bike rack for...

When living in a tiny space like a van, storage is the most important thing! Learn how to build a...
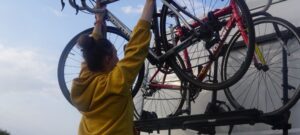
Installing a bike rack onto your campervan is a decision you won’t regret – well, we certainly don’t! If you...

When in the design process of your campervan it is very important to think about which style of table will...

The Lagun Table Leg System comes with a pretty hefty price tag - £158. Here's why we think the Lagun...
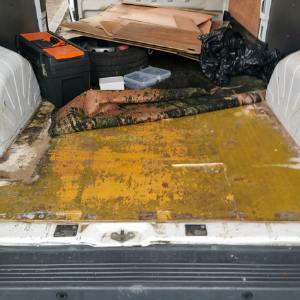
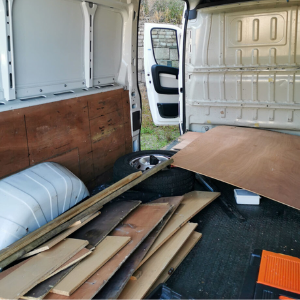
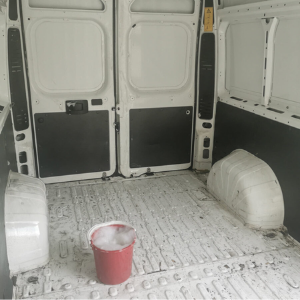
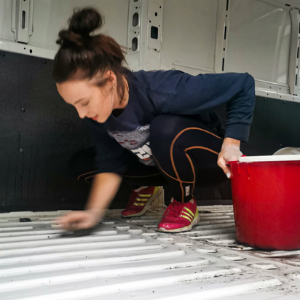
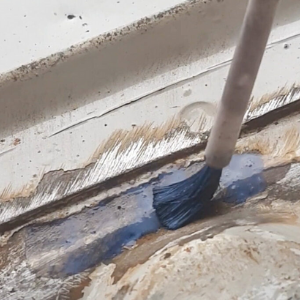
Pingback: Soundproofing Your Van (applying sound deadening). - This Pair Go There