Instructions
Step 1 – Measure The Floor Of Your Van
Begin by measuring the length and width of your van (our Citreon Relay L3H2 is roughly 2m x 4m). Then add at least 10cm all the way around – this is the size of vinyl sheet you will need to buy. This will ensure the vinyl you buy is more than big enough. This is just a safety precaution as you don’t want to be caught short.
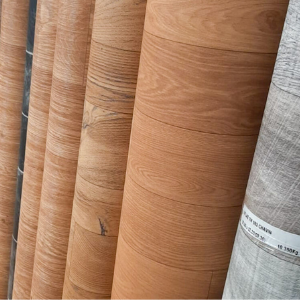
Step 2 – Choose Your Vinyl
Its time to figure out what vinyl is best for you. Firstly – how do you want your floor to look. This is the obvious one. Its also important to consider the thickness of the vinyl. A thicker, more premium vinyl will be more comfy and soft underfoot and also help with the insulation of your floor. The thicker vinyl is however more difficult to cut to the right shape – but certainly not impossible. A thinner vinyl tends to be cheaper which is always nice.
We opted for quite a thick vinyl from Carpetright, mainly because we thought the wood pattern on top looked more realistic than the others we saw. We must say we do love our vinyl wood floor.
Step 3 – Clean Subfloor
Make sure that the floor of your van is absolutely spotless. Check that every screw head is below the surface of the ply. An uneven floor below the sheet vinyl will ruin its whole look. Dust and hoover the floor – this will be the last chance to clean it before you never see it again (hopefully). A clean floor will also help with the adhesion of the vinyl to the ply
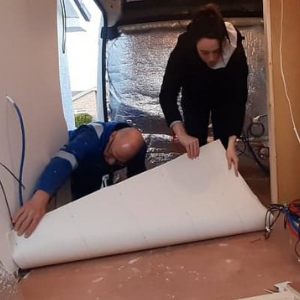
Step 4 – Roughly lay floor
Lay as much of the floor down as possible. This can be tricky. In our case, the shower in the middle of our van made it quite restricting. Its important to unroll your vinyl and roughly lay it to make sure its big enough and also give you a visual of how much spare you have to work with. Play around with the sheet and try to figure out the best starting point for laying it.
Step 5 – Line up against a straight edge
If you have a straight edge to work with use this step. To minimise the amount of cutting you’ll need to line the edge of the sheet vinyl up against your straight edged wall. Make sure that the sheet is against the wall the whole way along. Once you are happy with its starting position you can move onto making some cuts.
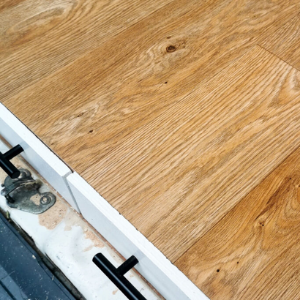
Step 6 – Cut The Vinyl
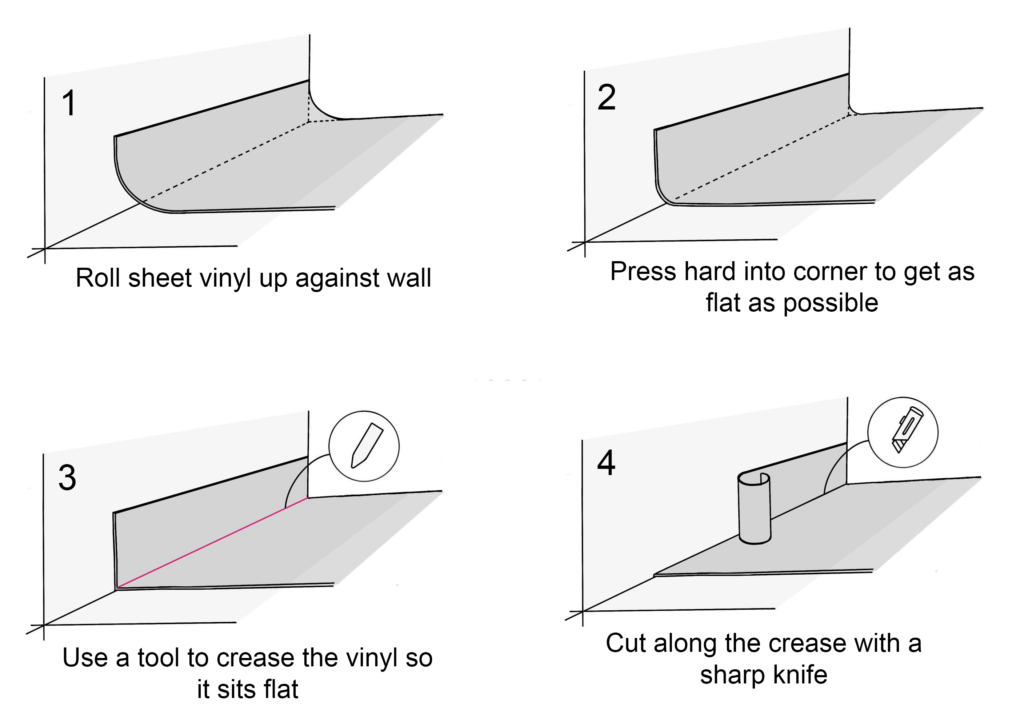
Keeping the vinyl in its intended position push the sheet of vinyl hard against the obstacle that needs cut. This can be more difficult with a thicker sheet. It can be useful to make a cut in an area you know you wont need to relieve some of the pressure.
You need to get the vinyl sheet flat against the floor right up to where it needs cut. When you’ve pushed the vinyl as far as it will go try to crease the sheet. Use a sharpish tool to run along the edge of the vinyl a couple of times to crease it. You can use anything for this – for example a dull knife – just anything that will crease the sheet without cutting right through it.
To cut the vinyl use a Stanley knife and run it directly along your crease. Alternatively you could use a vinyl cutter to help you. Most of the edges of our floor are not visible after all of the furniture is in place so we didn’t bother with the vinyl cutter.
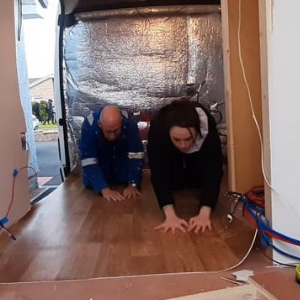
Step 7 – Stick it down.
Now it’s the fun part – sticking the vinyl down. To do this you will need a spray adhesive. We used 2 cans to cover our whole van. Stick the floor down in sections following the instructions on your spray adhesive. When you place the vinyl down on top of the adhesive make sure to rub down every inch of it. Pay extra attention to the edges to make sure that they are not pulling up or puckering in any way.
There is a certain amount of flexibility in the sheet vinyl. If it for example needs to shift a couple of millimetres to one side you can rub it in that direction to guide the floor into its correct position.
Conclusion
Sheet vinyl is a cheap yet effective way to cover the floor of your van and we would definitely recommend it. It can really make the van feel a whole lot more homely. It’s honestly pretty simple to install – one of the easiest parts of the van build.
If you have any questions about any stage of the van conversion don’t hesitate to ask. You can always find us in the comments.