The structure is the foundation of you van build. So it better be good!
These step-by-step guides have been designed to walk you through exactly how to build the interior of your van. From floors & ceilings to full kitchens.
TOTAL COST
£2046.66
Sound Deadening
Insulation
Floor
Ceiling
Walls
Shower
Kitchen Base Unit
Curved Door
Overhead cabinets
Slide Out Picnic Benches
£56.98
£337.49
£271.09
£224.18
£140 (approx)
£126.29
£465.44
£114.70
£204.82
£105.67
SHOPPING LIST ESSENTIALS
click to purchase
… and much more found on the individual posts.
The first step on your van build journey should always be to prepare your van for the build itself. If your van is not brand new you’ll likely have some work to do. Start by gutting the whole van so it is a blank canvas
Once you have stripped your van bare, hunt for any rusty sports. it is vital to treat any rust to prevent it from getting worse. Hammerite treatments are great for not only preventing the problem but also covering up any unsightly bits.
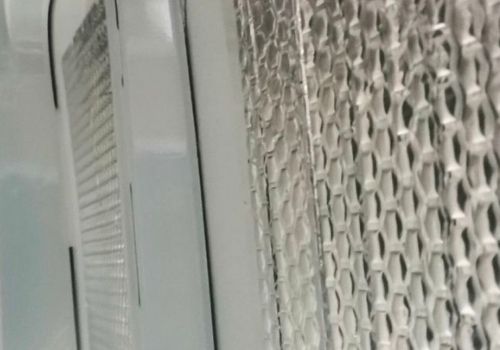
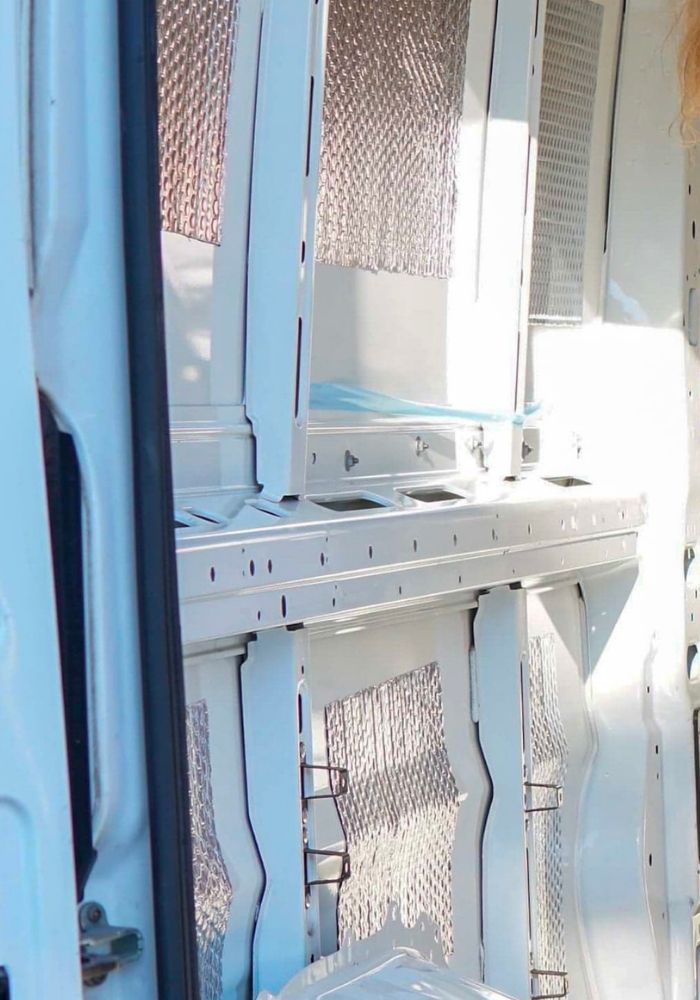
Finally, apply sound deadening. This relatively inexpensive job will dramatically reduce the tinny road-noise, and more importantly, the noise coming from outside as you try to sleep.
SHOPPING LIST ESSENTIALS
click to purchase
… and much more found on the individual posts.
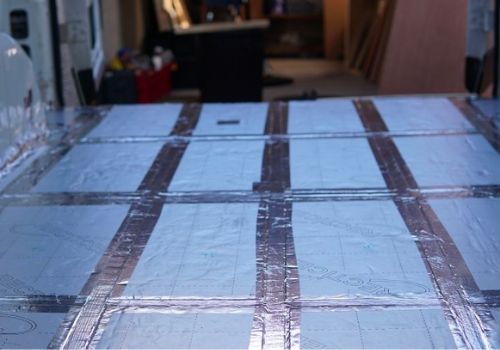
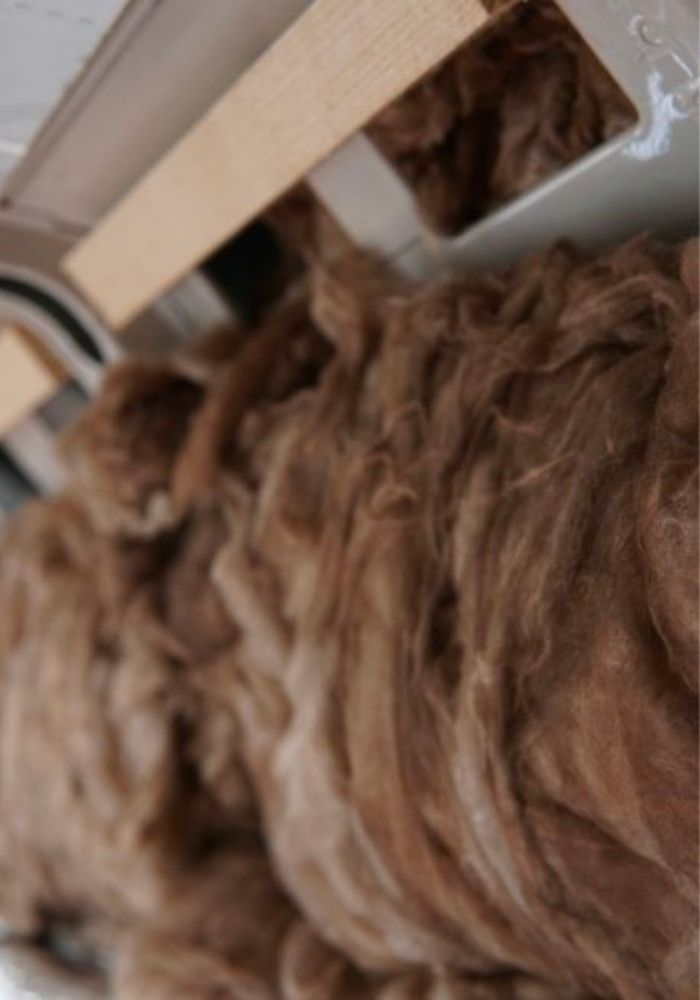
Insulating your van is absolutely essential. Your van can heat up like an oven on a hot day and be bitterly cold when the temperature plummets. Without insulation, a panel van provides almost no protection from the outside temperature. Having a well-insulated van is the secret to being able to live in it full time in all climates.
There are many different types of insulation – many of which have different purposes. We used rigid board insulation and loft wool roll insulation with a vapour barrier on top.
SHOPPING LIST ESSENTIALS
click to purchase
… and much more found on the individual posts.
SHOPPING LIST ESSENTIALS
click to purchase
… and much more found on the individual posts.
SHOPPING LIST ESSENTIALS
click to purchase
… and much more found on the individual posts.
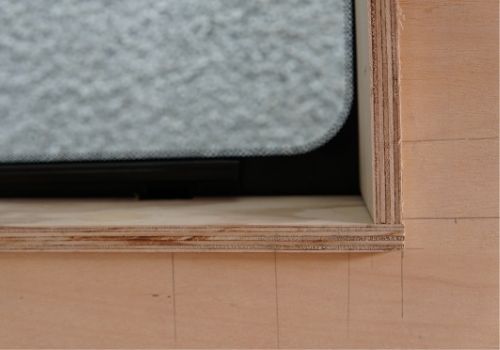
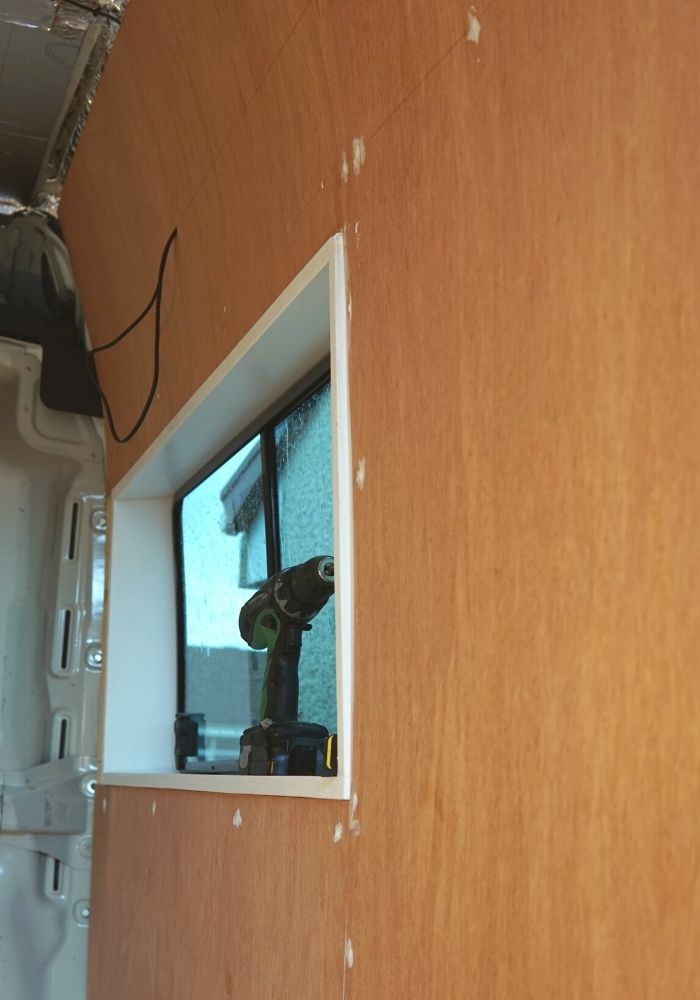
By the foundations, we mean the floor, walls and ceiling. Without these, you can’t really do too much. It is very important to try and keep the weight of these fixtures as low as possible.
There is no right or wrong way to clad your interior. We opted for 5mm plywood walls and ceiling to mimic the natural curve of the van. We used framing battens and a 12mm layer of plywood on top of the floor. This gives the floor a lot of strength so it does not sag under foot.
SHOPPING LIST ESSENTIALS
click to purchase
… and much more found on the individual posts.
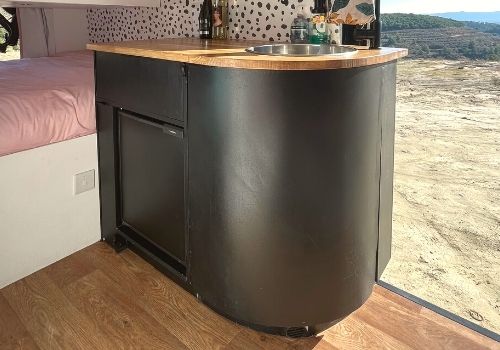
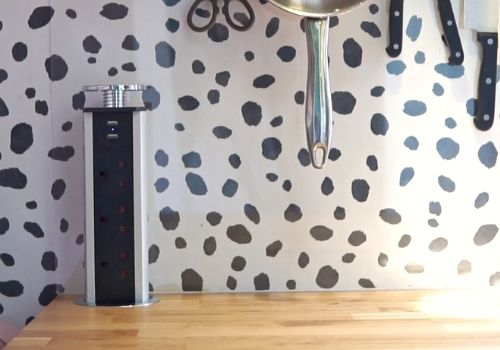
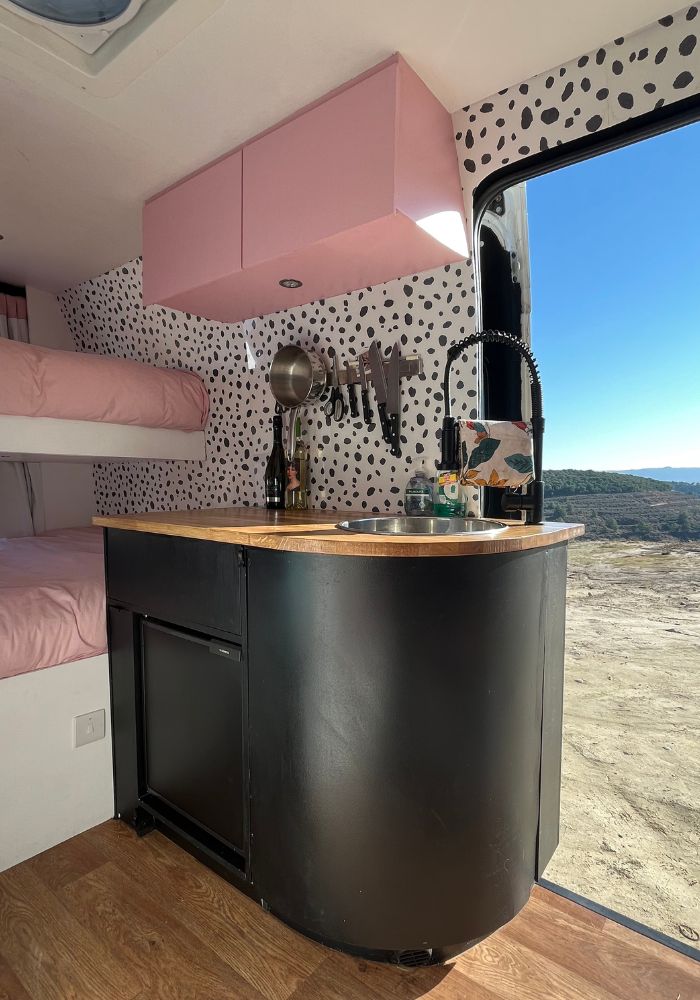
Once the van has been insulated and cladded, it is time to get creative with the furniture you build inside. One of the amazing things about building a van yourself is that you can customise everything so it fits your space and your needs perfectly.
Where possible, we recommend buying pre-made components such as drawers as this can save you a lot of time and gives you a great finish. If you want to build everything yourself, check out the guides below on how we built everything in our van to a high standard.
The first step on your van build journey should always be to prepare your van for the build itself. If your van is not brand new you’ll likely have some work to do. Start by gutting the whole van so it is a blank canvas
Once you have stripped your van bare, hunt for any rusty sports. it is vital to treat any rust to prevent it from getting worse. Hammerite treatments are great for not only preventing the problem but also covering up any unsightly bits.
Finally, apply sound deadening. This relatively inexpensive job will dramatically reduce the tinny road-noise, and more importantly, the noise coming from outside as you try to sleep.
SHOPPING LIST ESSENTIALS
click to purchase
… and much more found on the individual posts.
Insulating your van is absolutely essential. Your van can heat up like an oven on a hot day and be bitterly cold when the temperature plummets. Without insulation, a panel van provides almost no protection from the outside temperature. Having a well-insulated van is the secret to being able to live in it full time in all climates.
There are many different types of insulation – many of which have different purposes. We used rigid board insulation and loft wool roll insulation with a vapour barrier on top.
SHOPPING LIST ESSENTIALS
click to purchase
… and much more found on the individual posts.
By the foundations, we mean the floor, walls and ceiling. Without these, you can’t really do too much. It is very important to try and keep the weight of these fixtures as low as possible.
There is no right or wrong way to clad your interior. We opted for 5mm plywood walls and ceiling to mimic the natural curve of the van. We used framing battens and a 12mm layer of plywood on top of the floor. This gives the floor a lot of strength so it does not sag under foot.
SHOPPING LIST ESSENTIALS
click to purchase
… and much more found on the individual posts.
Once the van has been insulated and cladded, it is time to get creative with the furniture you build inside. One of the amazing things about building a van yourself is that you can customise everything so it fits your space and your needs perfectly.
Where possible, we recommend buying pre-made components such as drawers as this can save you a lot of time and gives you a great finish. If you want to build everything yourself, check out the guides below on how we built everything in our van to a high standard.