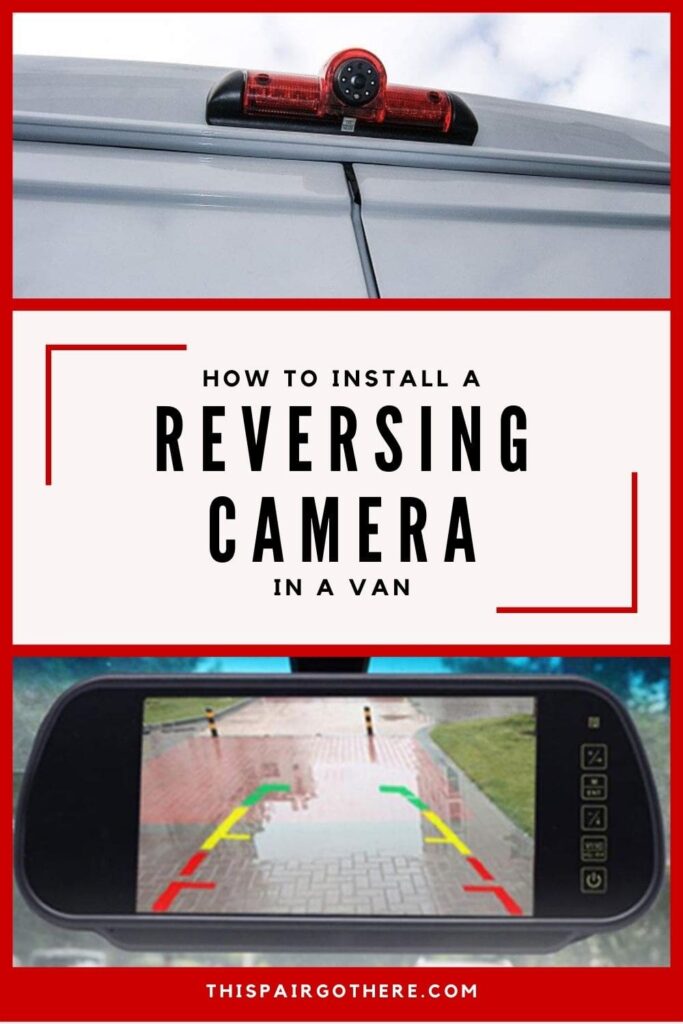
If you are wondering whether or not to install a reversing camera – our response would be DO IT! If your visibility is reduced by a bulkhead or lack of back windows a reversing camera is essential.
Transitioning from driving a car to driving a van isn’t always the smoothest. There is so much more vehicle to account for, whether you are going around corners or reversing, it will take some time to get used to!
By simply installing a reversing camera, you can take a little bit of the stress associated with driving a bigger vehicle away! What’s even better is they are not difficult to install – it just takes a bit of patience.
We recommend installing a reversing camera during the early stages of your build – before all the walls go up. this means all of the wires will be hidden.
Prerequisite: Strip the van
time
1 hour
Price
£74.26
related Posts
Time
1hours
Price
£74.26
tools used
Instructions
Step 1 – Buy a Reversing Camera
This step is the most obvious.
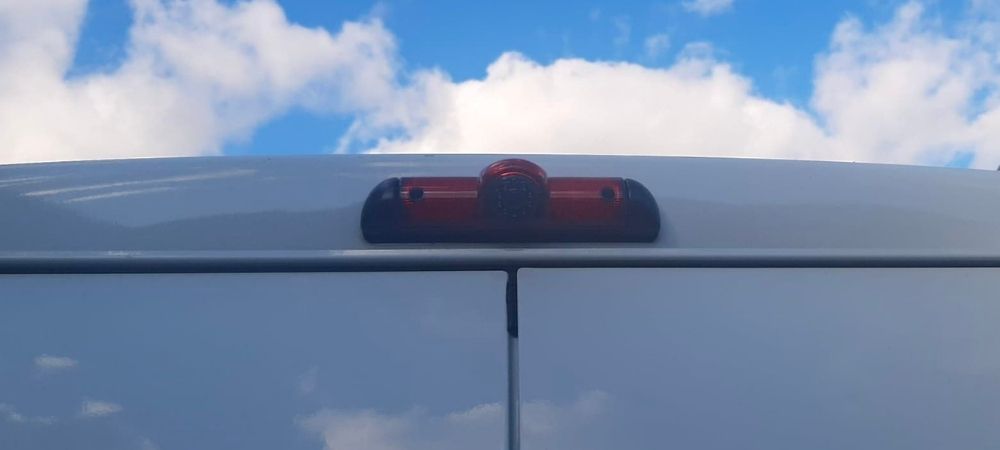
There are several types of reversing cameras on the market today all performing a very similar role but at drastically different price points. We recommend purchasing a vehicle-specific reversing camera, which will be provided with a backlight with the reversing camera built-in. This is much more discrete and aesthetically pleasing!
We have a 2016 Citroen Relay, therefore, cameras that are compatible with Peugeot Boxers and Fiat Ducatos would also fit well.
If you have opted for the same (or very similar) camera as ours, it should include:
- Monitor / Screen
- Reversing Camera / Brake Light
- AV Cable (long)
- Power cable for the monitor
Step 2 – Remove the High-Level Brake Light
As mentioned previously the most common style of reversing camera is one that is incorporated into the brake light. This means the first thing you’ll need to do is remove the brake light which is currently installed. This is really easy to do.
All you’ll need is a large Phillips screwdriver to remove the bolts on the outside of the van. Then use a small spanner to remove the 2 bolts on the inside of the van.
These bolts are inside the top back beam of the van. There are oval shapes cut out of the beam to access the brake light. Take your time as it is a little fiddly to get your spanner/hand in to loosen the bolts.
Step 3 – Disconnect Brake Light
Now that the bolts are removed, it’s time to deal with the wires. There should be connectors in the brake light wires which allow you to easily disconnect the light by pulling them apart. You’ll need to wire the new reversing camera light to these wires.
If the wires do not have connectors this is not a problem. Simply cut the wires close to the light. Next, strip the wires in order to connect them to the new reversing camera brake light.
Step 4 – Install New Brake Light Reversing Camera
Fix the new reversing camera/brake light in the exact same way as the light was removed. Use the same bolts on the inside to fix the light securely.
Connect the wires up to the new light in the same fashion as it was connected to the old light.
Important – Once you have wired up the brake light to its original wires make sure to test it! Use a reflective surface or ask a friend to check the light is working properly.
Step 5 – Wiring the Reversing Camera
For your camera to be operable at all times it will need to be connected to a permanent 12V power supply. This means that at any time (whether your van is on or off) you’ll be able to turn on the monitor of your reversing camera to see what’s behind you. This means it can be used as a security camera too!
The simplest way to do this is to connect it to the 12V light wires at the light at the back of the van. Cut the wires off from the back interior light if you don’t need it, alternatively, it would be just as easy to connect the reversing camera wires into your 12V light circuit.
When connecting wires make sure that all of your connections are solid with no bit of wire sticking out. We recommend using heat shrink tubing over all of your connections to make them as safe as possible.
Step 6 – Connect the monitor to the Reversing Camera
This is the most tricky part of the installation – especially if you have a bulkhead in position. Connect one end of the long AV cable to the reversing camera at the back of the van and run the cable through one of the beams that spans the entire length of your van (as seen in the picture below). This keeps them neatly tucked away so they won’t get in the way of anything as you continue on with your van build.

Step 6a – Get the cable through the bulkhead
This process is time-consuming and incredibly frustrating – but not impossible! Feed the wire down the vertical beam beside the bulkhead so the wire will come out on the floor behind the driver’s seat of the cab. Below are some images of the beam we used.

It’s quite a squeeze to get the wire down. We found it the easiest to feed a piece of garden wire down first, this is much easier to direct. Once it is through attach the AV cable to the garden wire and pull it through.
Step 6b – Hide cable under the doorstep
To make the cable as invisible as possible in the cab we ran it underneath the plastic step at the driver’s side door.

Next, remove the plastic connectors holding the plastic panels in position in the cab. Eventually, you will be able to guide the cables up to your dashboard.
The cable for the monitor is approximately 1 meter long. The AV cable attaches to a connector at the end of the monitor cable. To hide this connection open up the fuse box hatch shown in the image below. There is enough room in this area to hide all of the cables and only keep out as much monitor cable as you need.

Conclusion
If your rearview outlook is in any way obstructed you should definitely consider installing a reversing camera. They are reasonably simple to install and absolutely worth the price!
If you have any questions about installing a reversing camera don’t hesitate to ask, you can always find us in the comments!
Next Step: Insulate and clad the walls


