
instructions
Step 1 – Clean the floor of the van
Time: 15 minutes
Prior to the actual build stage of the van floor, clean it thoroughly.
After all, it should be a beautiful blank canvas for you to build the perfect floor on. Don’t be afraid to get down on your hands and knees and scrub until it shines like the top of the Chrysler Building!
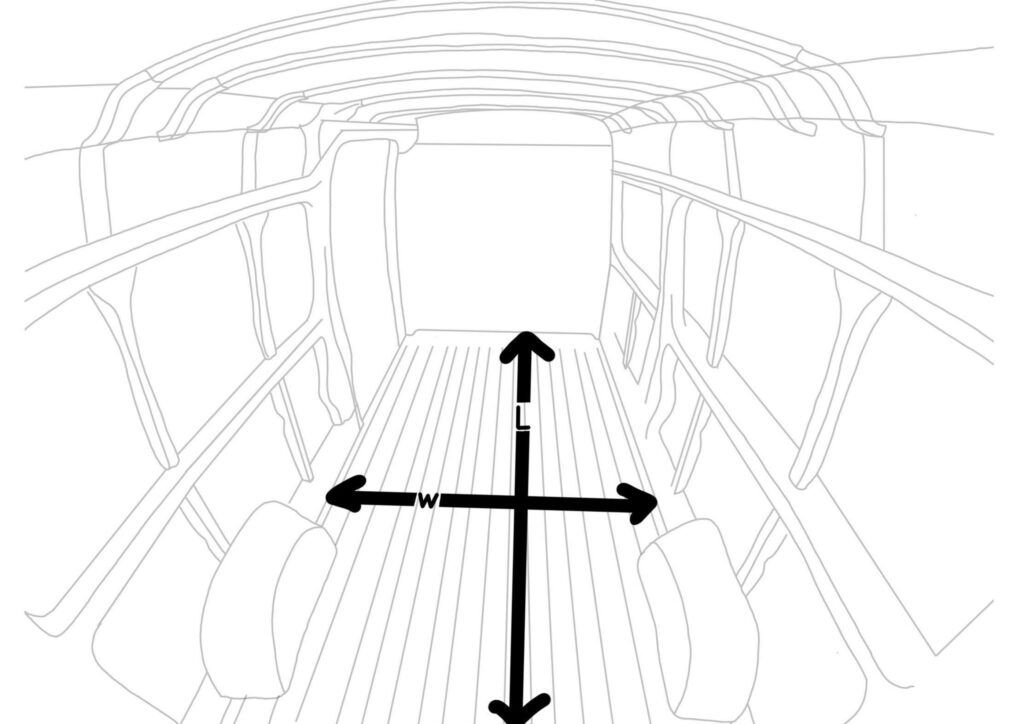
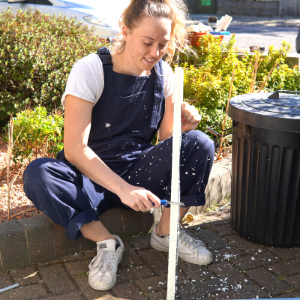
Step 2 – Measure the van’s floor
When you build a van floor it is important to measure the length and width of it precisely so you can plan:
a. the layout of the subfloor
b. the quantity of materials to buy
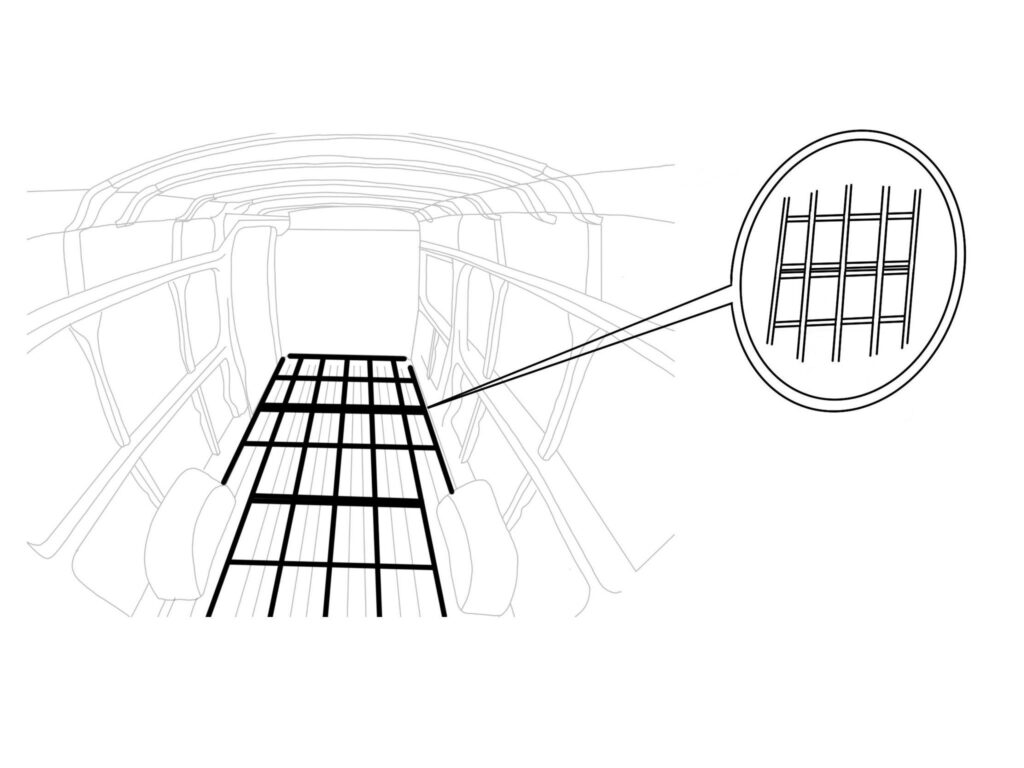
Step 3 – Layout
Decide where you are going to place the battens.
When creating a layout you should account for:
- The grooves on the floor, the battens will be sat ON TOP of them.
- Where the plywood panels will join. The panels are 1.2 x 2.4m / 8′ x 4′.
- Where your cabinetry/ seating/ other heavy interior fixings will be as you may wish to have a beam directly beneath it for extra support.
- The area the plywood will be spanning. The smaller the gaps between battens the more sturdy your floor will feel. However, the battens act as thermal bridges therefore you may wish to use them sparingly.
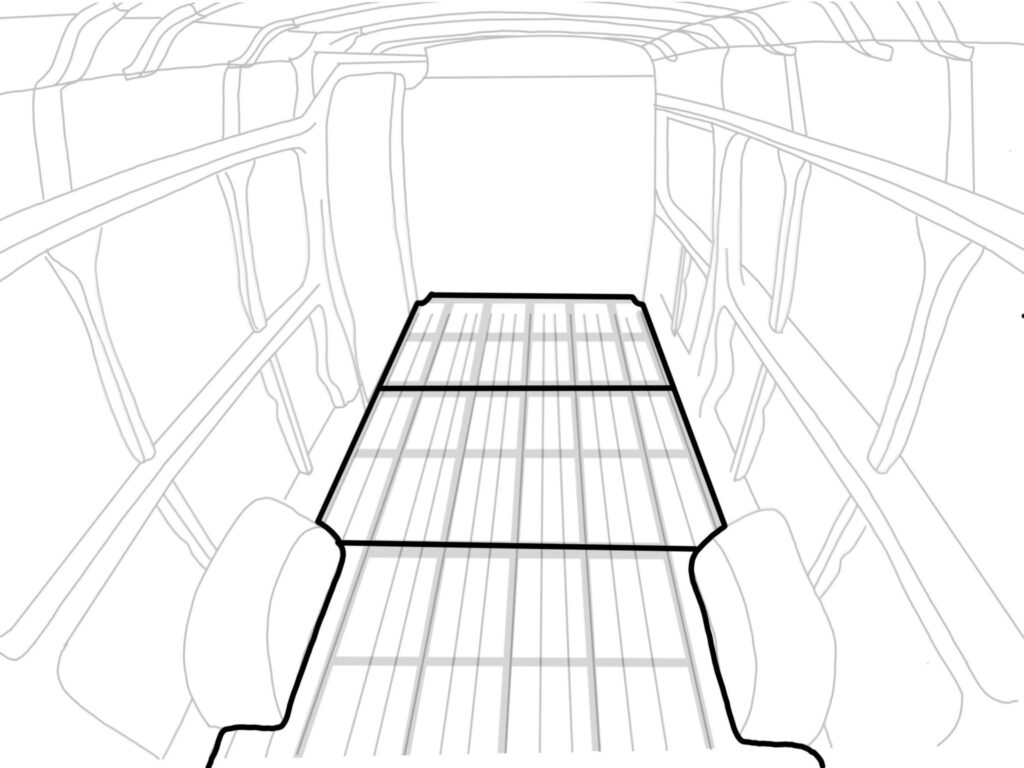
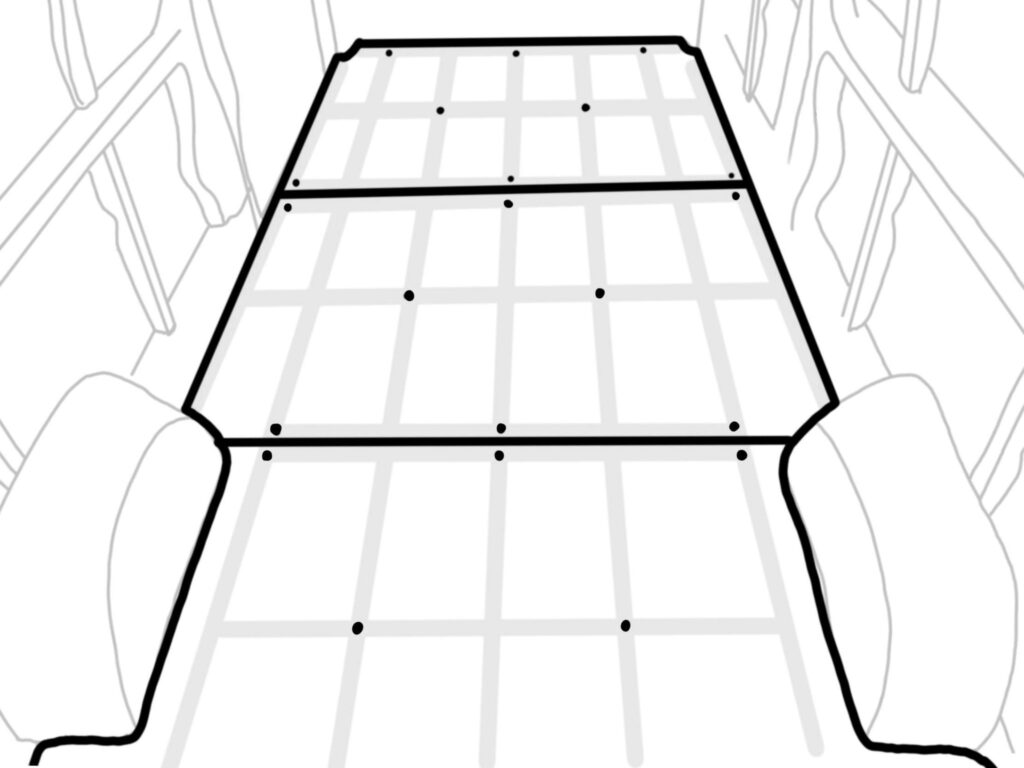
Firstly, locate the center of the van and then decide how many battens you need on either side. We opted for 4 battens running the full length of the van (25 x 25mm), 8 horizontal battens (25 x 25mm), 2 side battens (32 x 32mm), 1 rear batten (32 x 32mm)
Our exact layout of the battens is detailed in the diagrams below.
Step 4 – Cutting the Battens
Cut the battens to size. The diagram below depicts what size of batten goes where when you build the floor in your van.
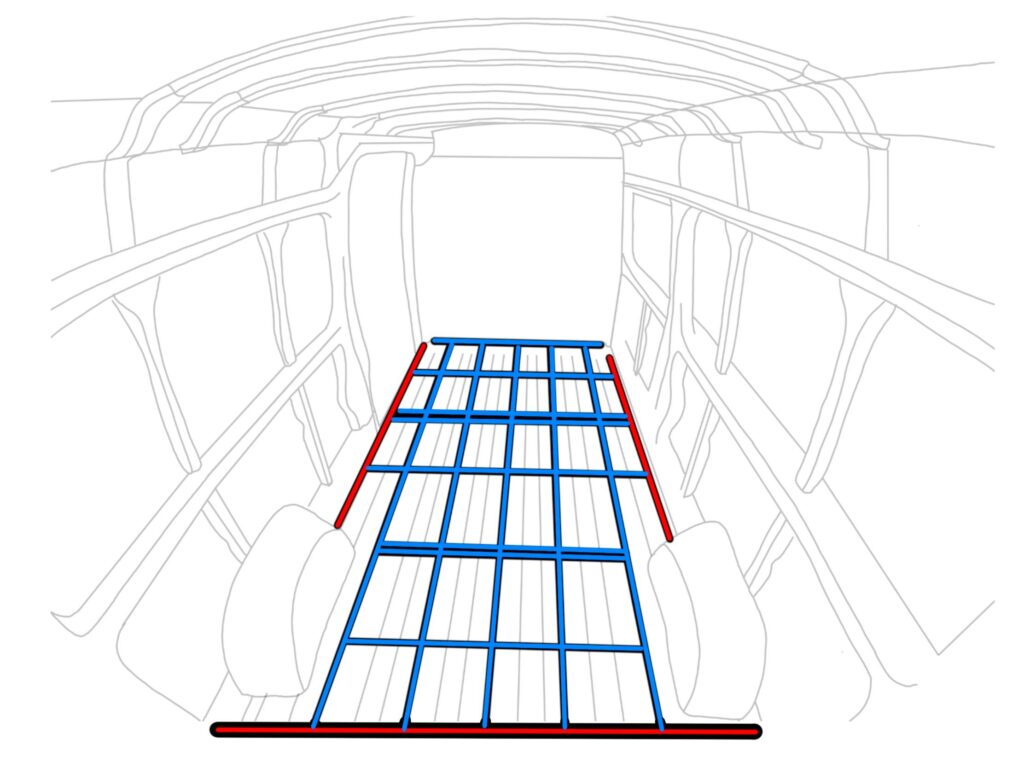
Blue Battens
These battens are 25 x 25mm
They are used for the majority of the framing and will always be positioned ON TOP of the grooves.
Red Battens
These battens are 34 x 34mm if you are converting a Citroen Relay or similar van. If you are using an alternative van, measure the depth of the grooves and add it to 25mm.
The battens will sit IN the grooves and therefore are required to be larger to create a flush floor.
These battens run along the side and back of the van
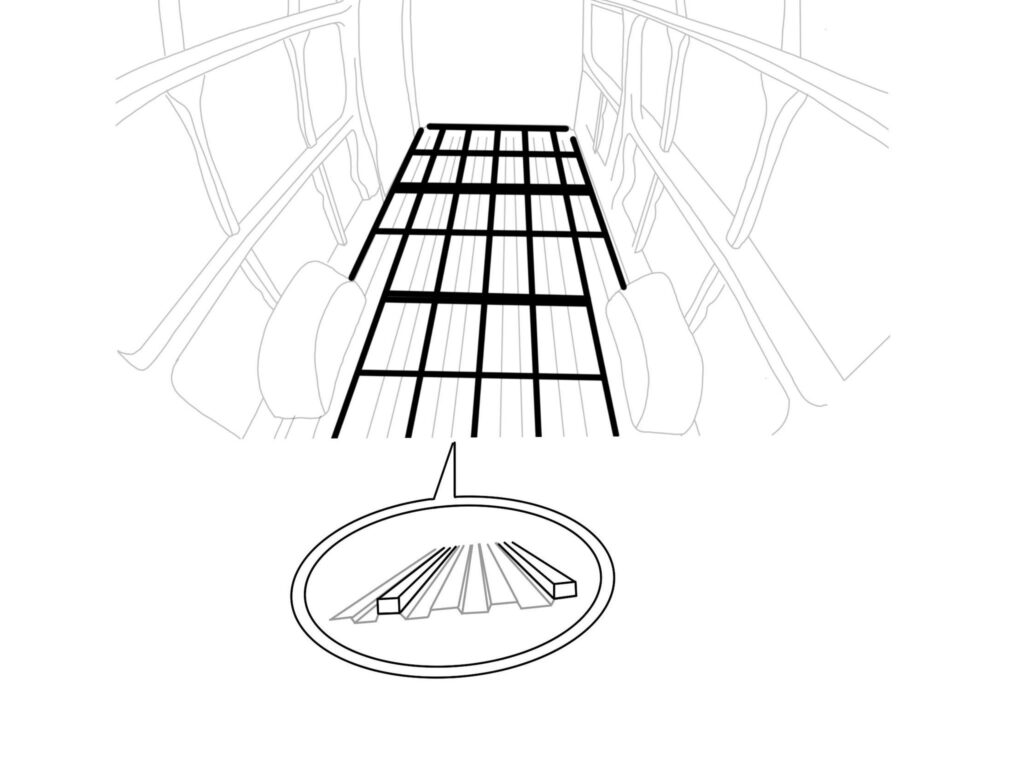
Step 5 – Attaching the Battens
Apply a generous continuous zigzag bead of Sikaflex (or similar adhesive) to the wooden battens or metal floor (whatever you find easier). Position the batten and apply force to securely attach it to the floor. Do this for every batten, making sure not to nudge them as they will move relatively easily before the adhesive has dried.
Leave to dry overnight for the best results.
Once the adhesive has fully dried examine the battens to make sure they are lying flat and have continuous contact with the floor of the van.
If a batten is bowed or arched use a 30mm screw to secure the batten further.
Note: try to minimise the number of screws you use as they could become a possible ignition point for rust.
Note: you may wish to use several screws on the batten positioned along the side door as this area sees high footfall and therefore some reinforcement could do it a world of good.
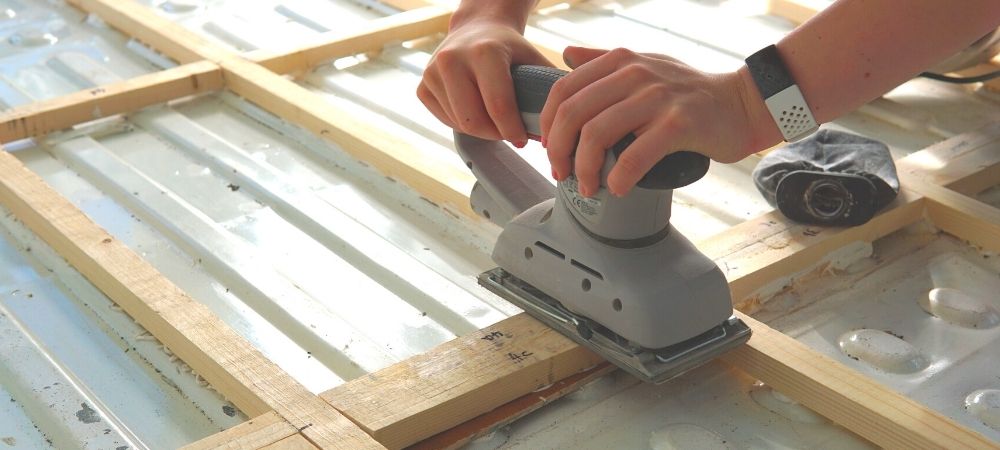
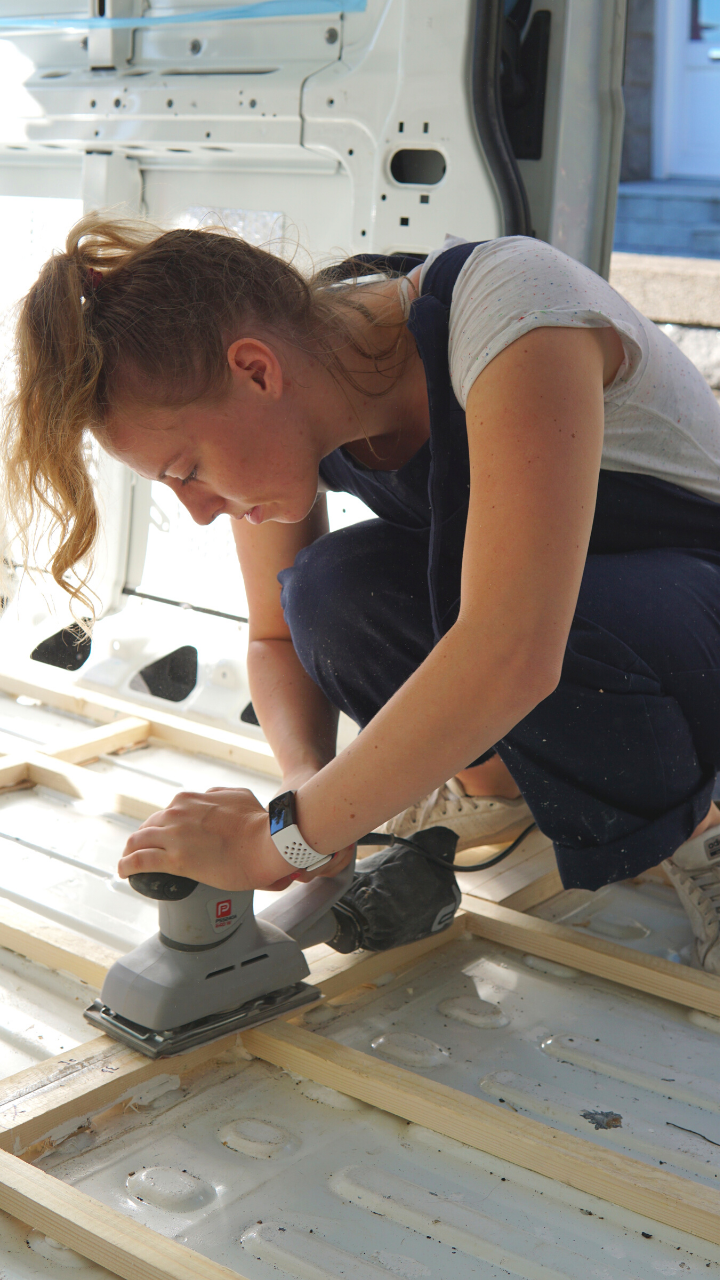
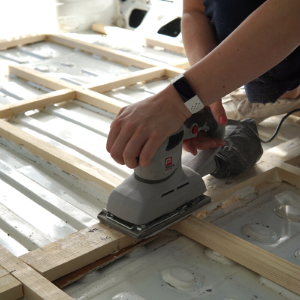
Step 6 – Preparing for Insulation
Now that the battens are in place it is important that they are all lying flush.
This can be achieved by sanding down any areas that are uneven. You may find joins where the horizontal and vertical battens don’t lie completely flush.
Once the sanding is complete, sweep/vacuum the van floor in order to create a clean base for the insulation to sit on.
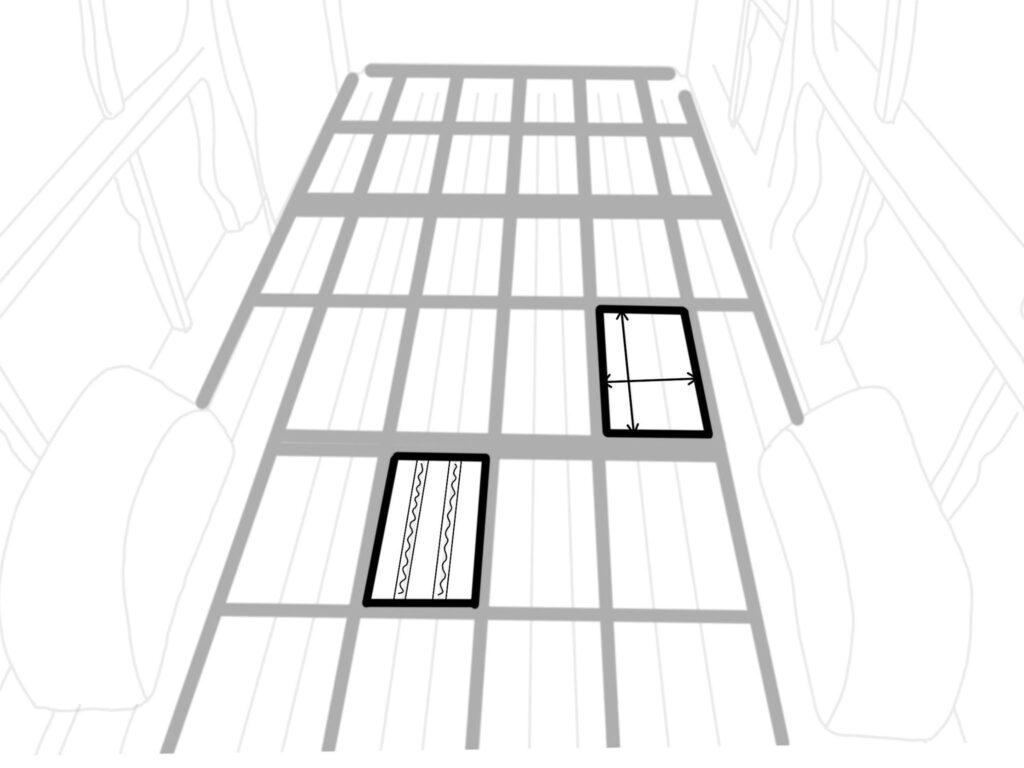
Step 7 – Insulate the floor of the van
Use 25mm Rigid Board insulation with a foil facing to create a cosy floor. We used 25mm Recticle Rigid Board Insulation from B&Q. It is extremely easy to work with, affordable, and most importantly, has a fairly impressive R-Value.
Firstly, measure the inner sections between the battens and cut the insulation accordingly. This can be done using a Stanley knife and a steel ruler.
Using Sikaflex (or a similar adhesive), secure the insulation into their respective segments. Apply the adhesive to the upper ridges of the van floor as opposed to the insulation for the best bond.
Optional
Once the rigid board insulation is fitted, you may wish to fill in any gaps with spray foam insulation to create an even warmer floor.
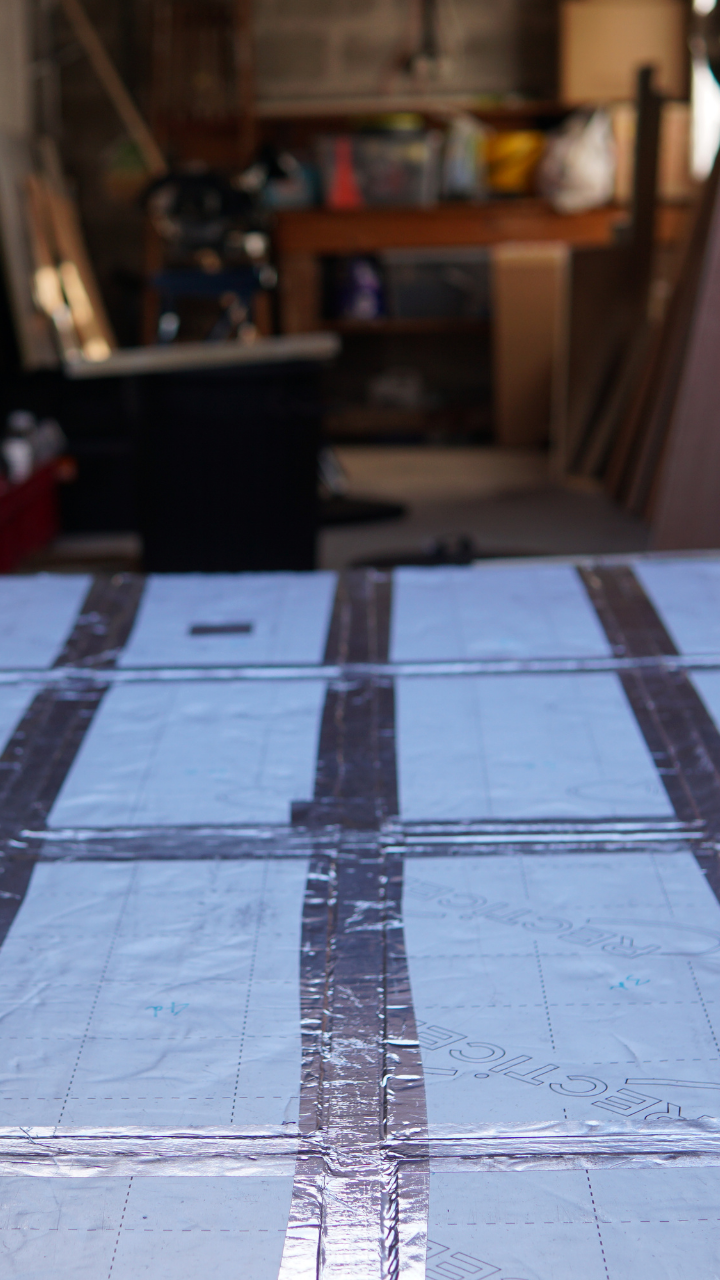
Step 8 – Creating a vapour Barrier
The insulation used on the floor does NOT need a separate vapour barrier if you opt for foil-faced rigid board insulation.
However, you will need to use foil tape to connect any gaps and cover the wooden battens to create a vapour seal. You should also bring the tape slightly up the sides of the van to make the floor 100% sealed. This will allow you to connect it to the vapour barrier on your walls when you reach that stage of your build. This will ensure your van is completely watertight!
Optional
You may wish to insulate you wheel arches at this point too. Find out how below:
Step 9 – Cut the Ply wood to shape
Use 12mm plywood for a solid floor.
From the measurements you have taken of your van, decide how many sheets of plywood you will need to cover the entire area of your van.
– Our Citroen Relay fit 3 sheets almost perfectly.
Create a template of the van floor making sure to account for the curves around the wheel arches. This can be achieved by precisely measuring your van. Conversely, you could make a template using this quick, easy, and accurate method detailed in the post below.
How to Create a Curve Template
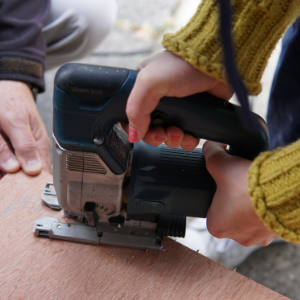
Once you are satisfied with your template, transfer it onto a piece of 12mm plywood.
Using a jigsaw, carefully follow the line you have drawn on the wood.
Do this to each sheet of ply you will be using to build your van floor.
Check that each board aligns perfectly not only to the sides of the van, but also to each other.
Step 10 – Screw down the Plywood Boards
Once the boards are cut to size, position them on top of the framing and insulation. Make sure the boards lie flush with the edges at the doors to achieve a clean finish.
Using 25mm screws, secure the boards to the framing beneath.
Use between 6-10 screws per plywood board. Make sure to countersink them so that your choice of flooring will lie flush on top.
CONCLUSION
You have officially completed your subfloor. Now the fun part – picking the actual flooring. I’ll let you decide what type suits your need best. We have chosen vinyl flooring… more about that later though!
I hope this guide will make fitting a floor somewhat simpler, we personally found this floor to be quick and easy to install and have found no faults with it.
Feel free to ask us questions regarding the floor, whether it is about materials, price, time, or whatever else. You can always find us in the comments.
Next Steps: Laying vinyl flooring, and covering and insulating the wheel arches.
IF YOU LIKED THIS POST, PIN IT… PRETTY PLEASE XOXO


One Response