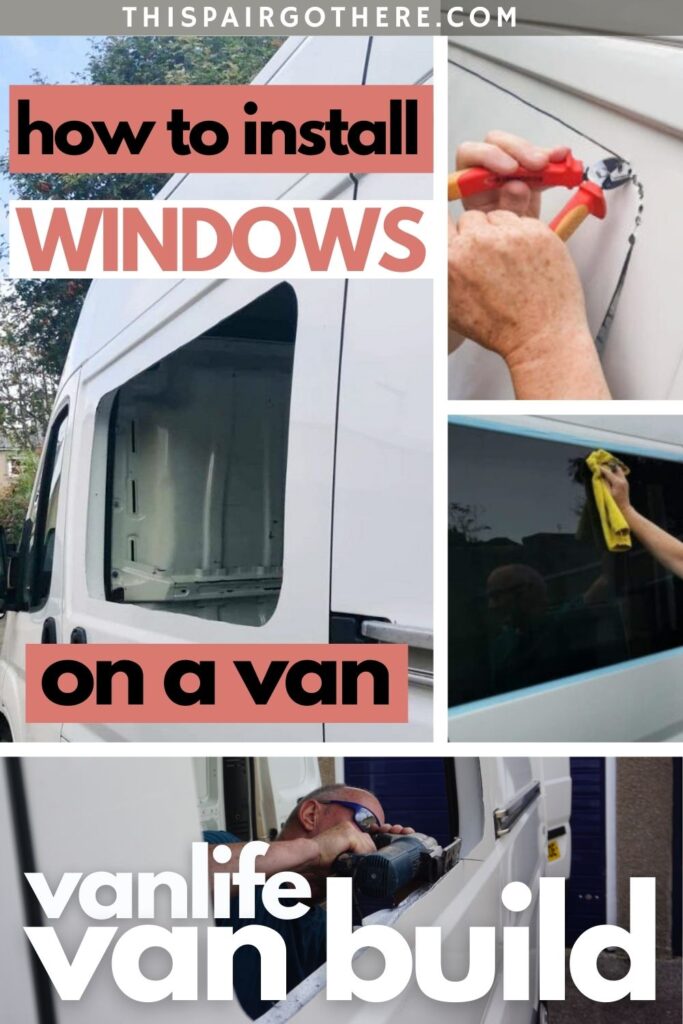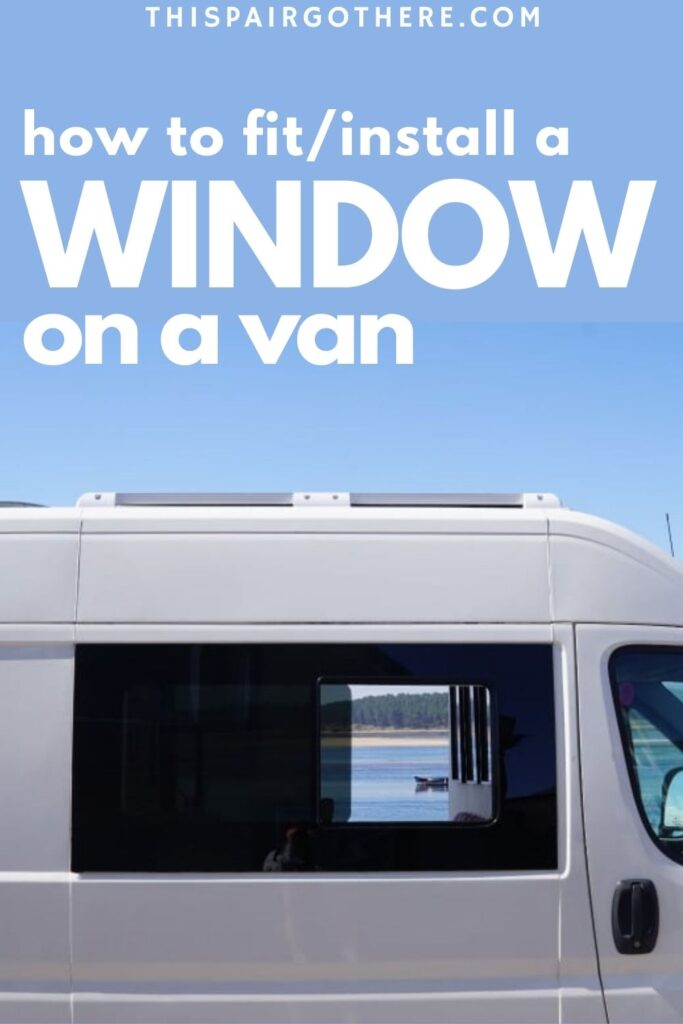
Instructions
Step 1 – Unbox the Windows
Take the windows out of their packaging and inspect them for any damage that may have occurred during transit. If you spot any damage stop immediately and get in touch with the supplier!
Step 2 – Measure How Big to Cut Holes in Your Van
Time: 30 minutes
This is arguably the most important part of the whole process (pun alert)!
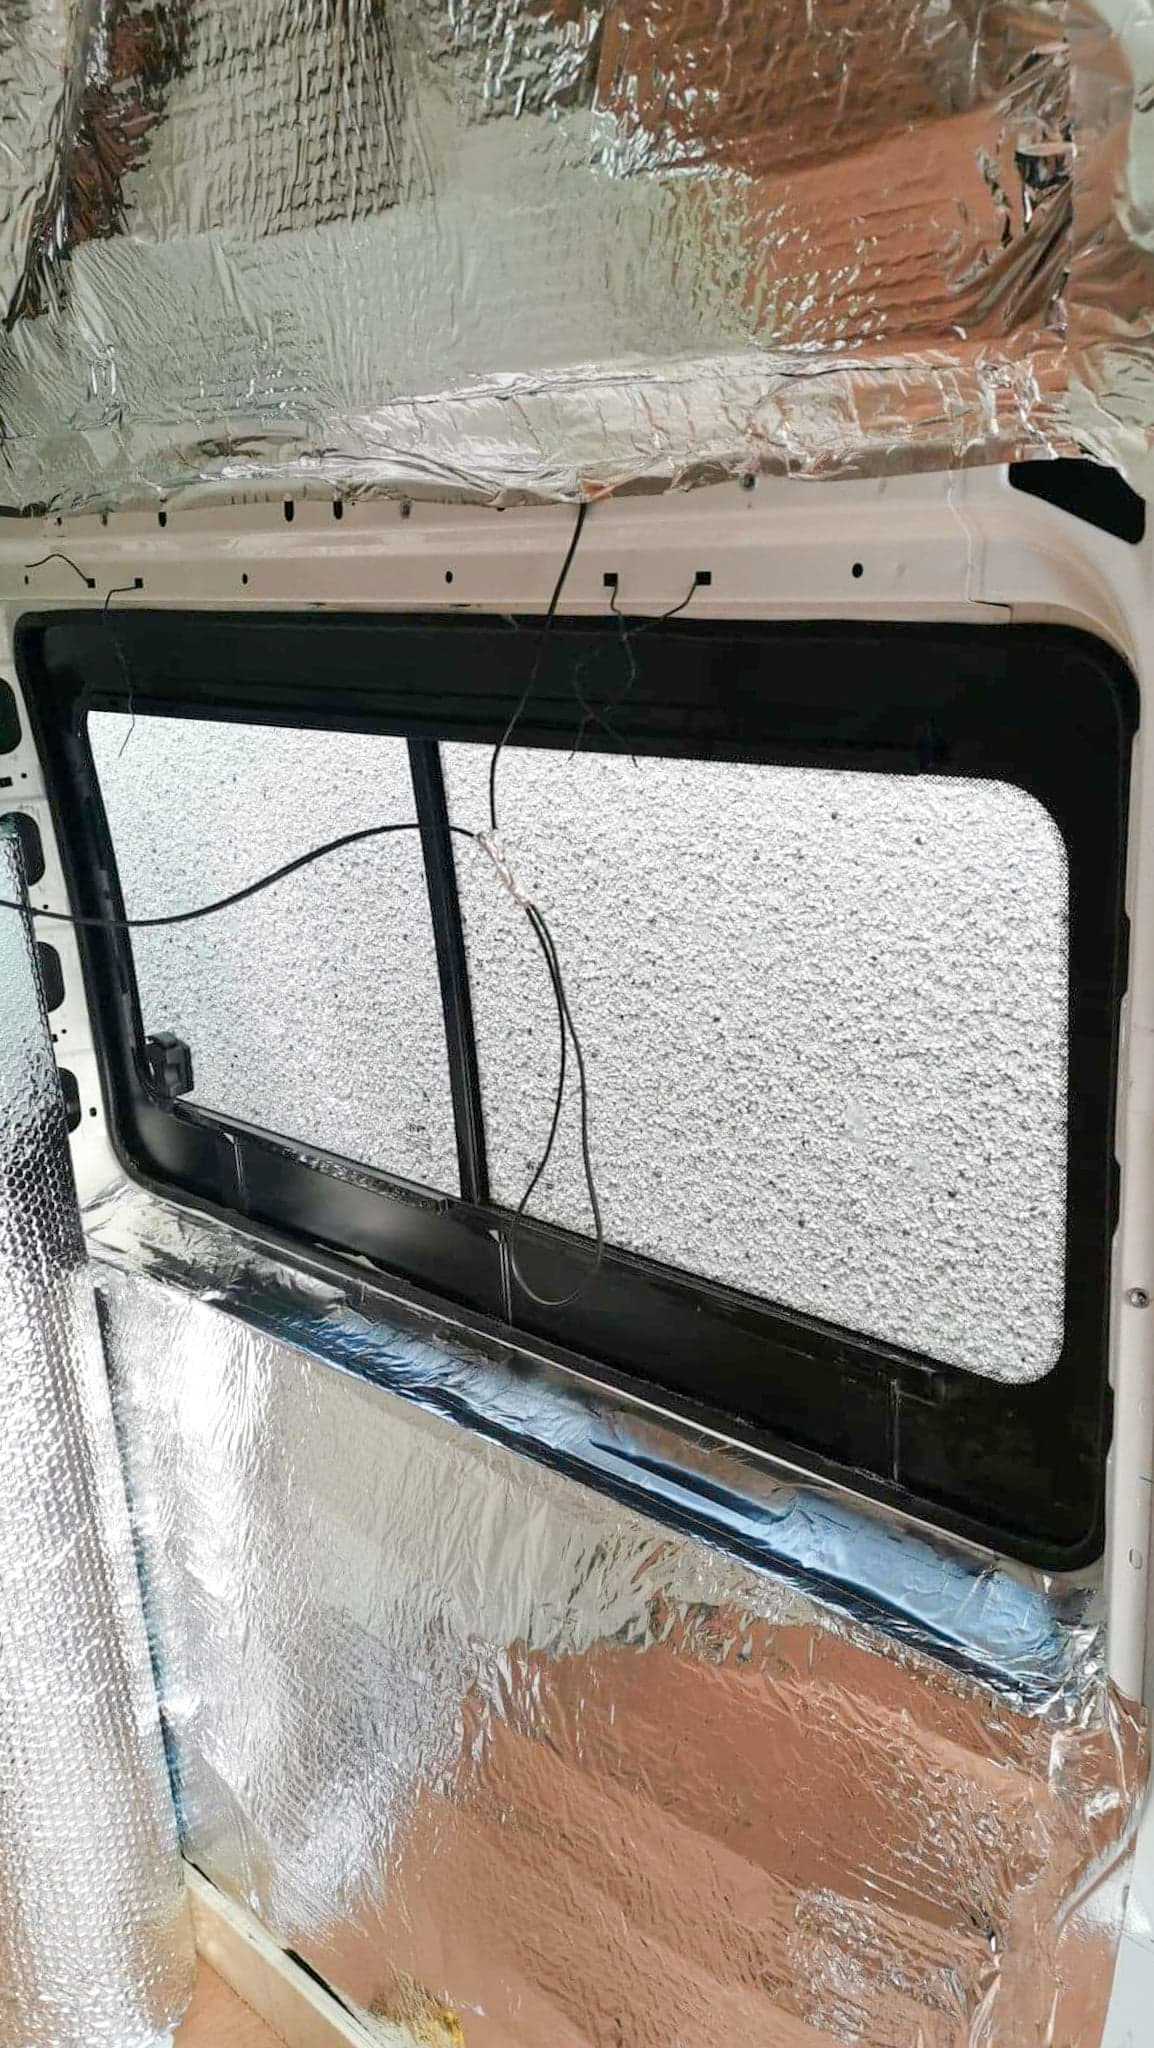
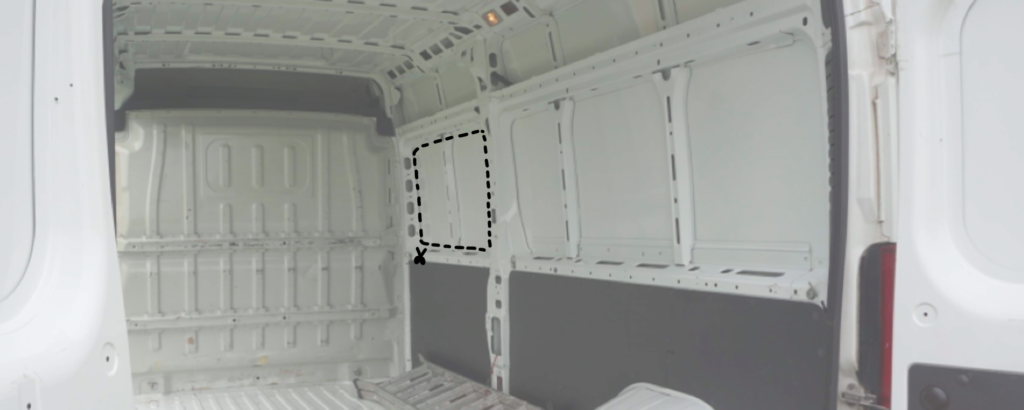
If the window is fixed (non-opening) you can just follow the lines on the inside of the van (the seam) for the accurate size of the hole. (see diagram below).
If the window opens:
You may use the same method as detailed above. However, the hole may be larger than you need as this type of window is typically slightly smaller. This is the method we used and are entirely satisfied with the outcome.
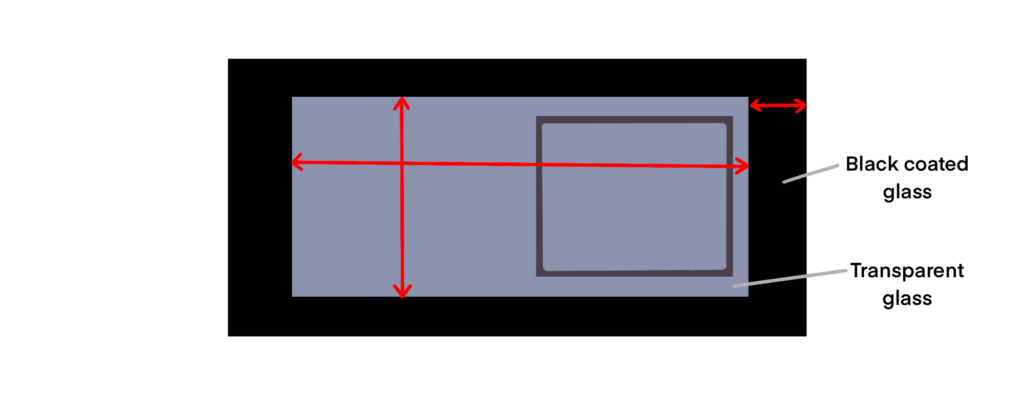
However, for a more precise (but time-consuming) approach, you should measure the window so you know the exact size of the hole you will need to cut into your van. Measure from the outside of the black-coated glass to where the glass becomes transparent. (see the diagram below for reference). Then measure the length and height of the transparent area.
Transfer your measurements onto cardboard and cut out to make an accurate template. You can double check its accuracy by placing it on the window to see if it fully covers the glass.
Once satisfied, draw round the template onto the panel of the van using a marker pen (or tape).
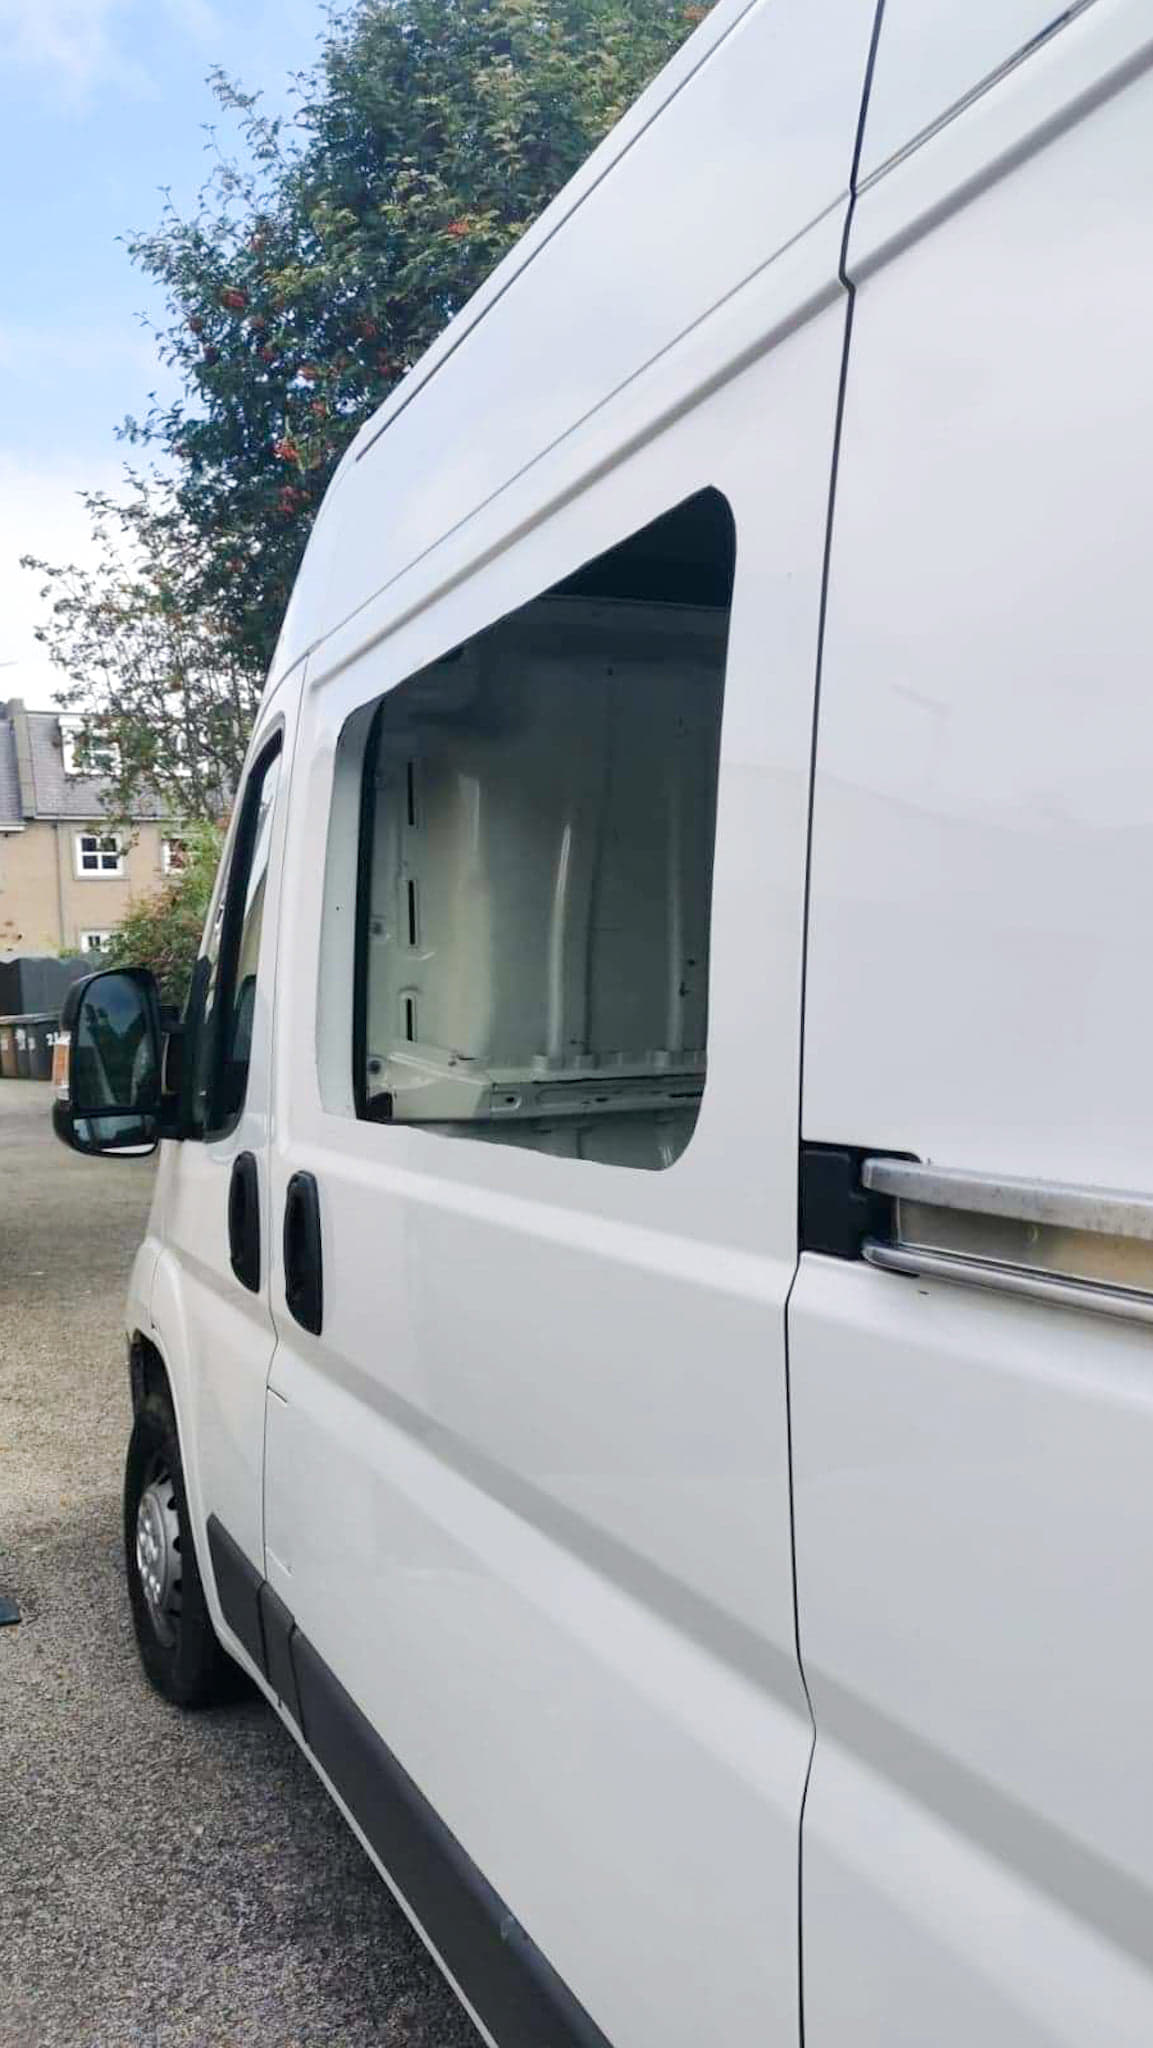
Step 3 – Remove Interior Ribs
When you are happy with your window placement cut into the bodywork. Remove the ribs of the van that obstruct where the window will be. We used a jigsaw to cut through the top and bottom of the rib and then used a saw blade to cut through the glue securing the rib to the sheet metal.
Note: Safety goggles should be worn when using power tools.
Step 4 – Drill Pilot Holes
Drill holes into the corners of the window area you have marked / where the seam is. These holes should be large enough to fit your tool of choice through to cut out the window hole. You may need to drill a few holes close together to create a large enough opening.
Connect the pilots holes together using tape. This will provide a straight line to act as a guide to follow if you choose to cut the hole from the outside.
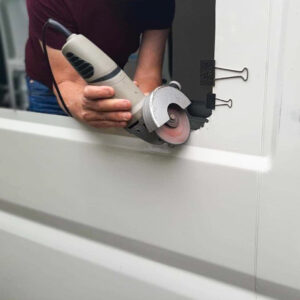
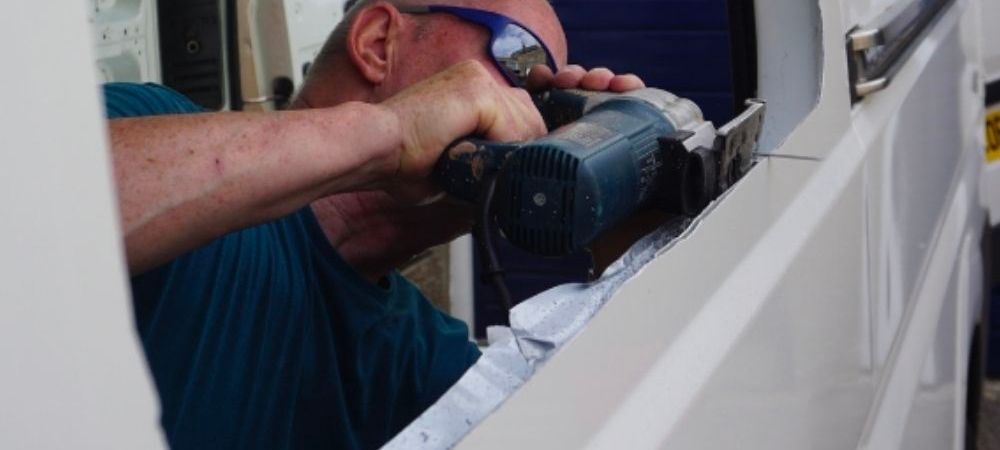
Step 5 – Cut into the Panel
Use a nibbler (or jigsaw) to carefully join the drilled holes (inside or outside the van).
This is definitely the most difficult and time-consuming element of when trying to install windows on a van. it is also the most nerve-wracking.

Start with the straight lines you have marked (as they are the easiest to cut) and then move onto the more tricky curved corners.
If you feel confident with a jigsaw, you may wish to cut the corners with it. Otherwise, I’d suggest using the drill to create a series of holes that all join together – like grown-up dot to dot! This can leave the hole quite jagged, however, nothing a file and sandpaper can’t solve!
When all four corners are cut make sure somebody is there to support the metal panel so it doesn’t fall. If you’re working alone use some duct tape to keep the panel in position whilst you cut the corners.
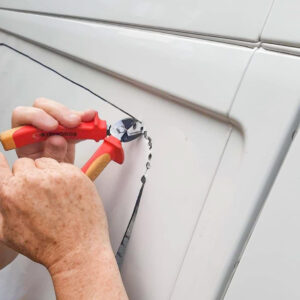
Step 6 – Smooth out any Rough Edges
File down the raw edge with a reasonably heavy metal file. If there are parts that are particularly rough you can use an angle grinder to smooth the edge – this may not be essential, but we felt like we needed to. Once it is satisfactorily smooth you can sand it down with sandpaper.
Step 7 – Rust Protection
Apply Hammerite Kurust to the raw edges of the van to protect and prevent it from rusting. A light coat will be plenty.
Step 8 – Apply Edging Trim (provided)
Once the Hammerite has dried, apply the edging trim provided with the window. This is the long rubber piece. It should be placed on the inner skin of the van. It should look like it’s sandwiched in between the inner and outer skin.
Note: it should never be on the outside skin – even though it feels like an easy solution.
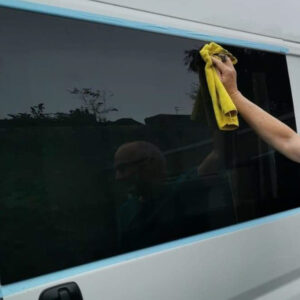
Step 9 – Clean the Van
Clean the panels of the van around the newly cut hole – both inside and outside. This will prevent any loose shrapnel from scratching your shiny new windows.
Step 10 – Clean the Window
Clean the window with glass cleaner. This just ensures that your window won’t have any dust or dirt on it which could mess with the adhesion.
Use the abrasive wet wipe provided with your window to clean the area around the transparent glass.
DO NOT GET IT ON THE ACTUAL GLASS as this could scratch the surface
Step 11 – Prime the Glass (provided)
Prime the glass with the primer provided. Again, this only goes on the black part of the glass which will be stuck to the exterior of the van. This is perhaps the most enjoyable part of the installation – the primer glides on like a dream.
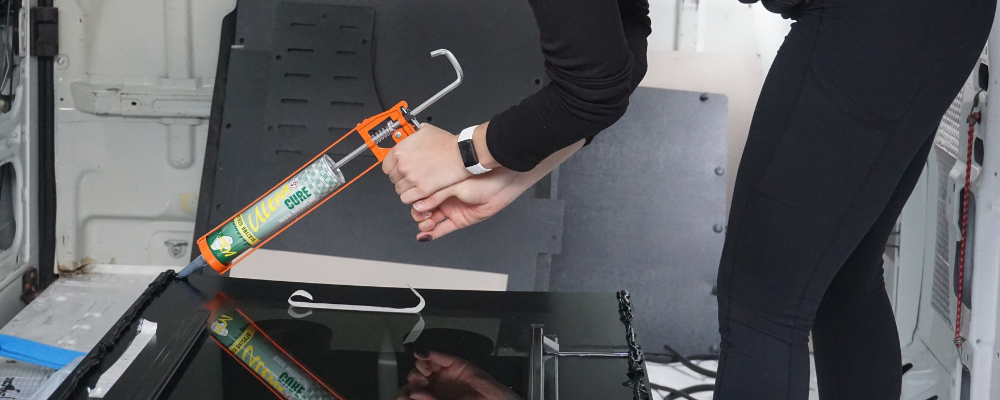
Step 12 – Apply Adhesive to the Window (provided)
Apply a thick solid bead of the adhesive provided on the perimeter of the window. Make sure there are no gaps as they could let water in. Don’t be stingy with the adhesive!
The bead should be approximately 1 inch thick and continuous.
Note: you may wish to soak the adhesive in some warm water prior to using it. This will make it easier to apply.
Step 13 – Mark Where to Install the Windows
Place tape on the outside of the van in the location where you want to install your window. This will act as a guide when you go to stick it in position. This step isn’t necessary but is pretty helpful.
Step 14 – Install the Windows!
Finally the part you have been waiting for!
Using a window suction cup and as many friends/family as you can wrangle, carefully transport the glass to the hole on the outside of your van.
Line up the window with the markers on your van (e.g. tape, and the vans structure) and push into position.
Spend at least 3 minutes forcing the window against the van in order to get a good connection with the adhesive. Make sure the window remains in the correct position when you are pushing against it.
Step 15 – Secure it in place
Once you are satisfied that your window is stuck in the correct position, use gaffer tape to secure the window in place and leave it overnight.
DO NOT MOVE THE VAN for the next 12 hours to avoid the window moving… or even breaking!
Step 16 – Admire
Congrats you have successfully managed to install a window on your van…. take a step back and admire your work!
You have officially complete installing the window in your van. Now you have the joy of cracking on with the rest of your van.
We hope this guide was helpful! There are a lot of helpful youtube videos regarding how to install van pimps windows online, however, we still managed to make some mistakes. This how to guide was created so you don’t make a mistake!
Feel free to ask us questions regarding how to install windows, whether it is about materials, price, time, or whatever else. You can always find us in the comments.
Next Steps: Installing a simple and effective van floor or building a window frame.