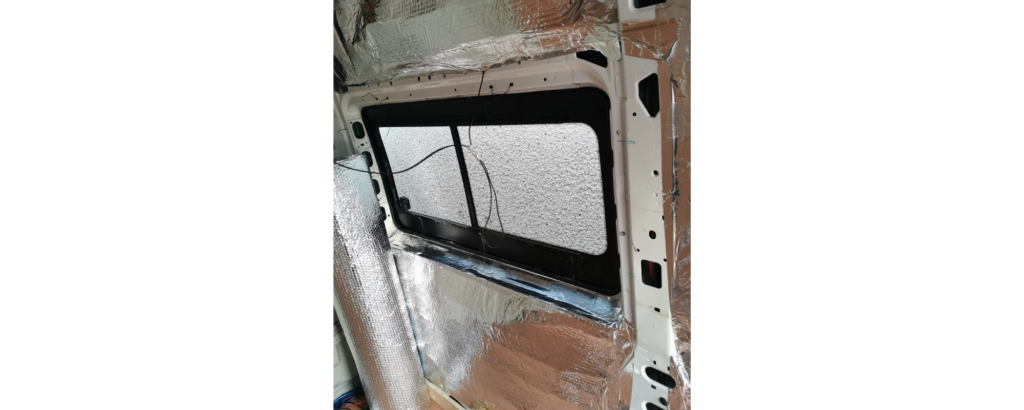
Step 1 – Prepare the Area Surrounding the Window
Firstly, make sure you have a clean, large workspace. This process requires a LOT of trial and error and you will be working with big sheets of plywood. You will also want to make sure that the area surrounding the window is stuffed full of insulation and completely sealed with a vapour barrier and foil tape, ready to be transformed!
Step 2 – Roughly Measure
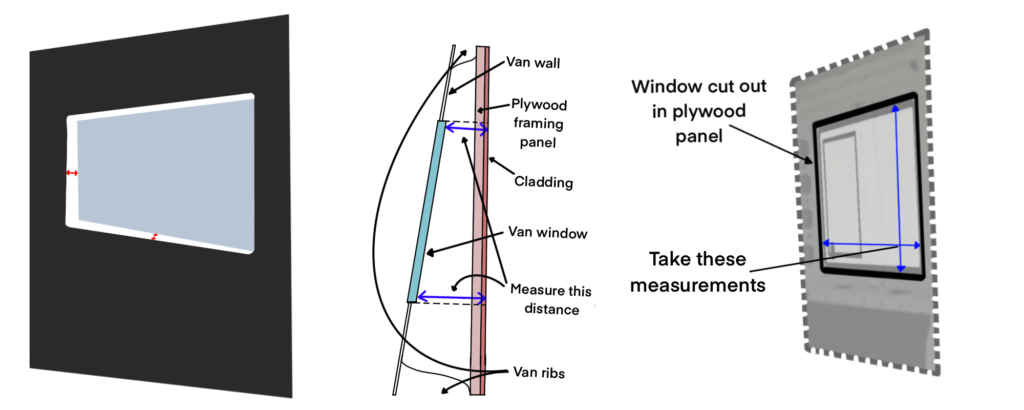
Firstly, take measurements of the window. Make sure to make them as exact as possible. Do not assume that the window will measure to be an exact square. It is completely fine if it is not a perfect square – ours definitely wasn’t!
Step 3 – Framing the van (optional)
Depending on how you have framed your van, this step may or may not be required. We opted to avoid traditional framing methods and use strategically place 12mm plywood strips (to keep the weight down and maximise the width of the van). If you have framed your van (and window) with battens, this step is not required (Skip to step 4)
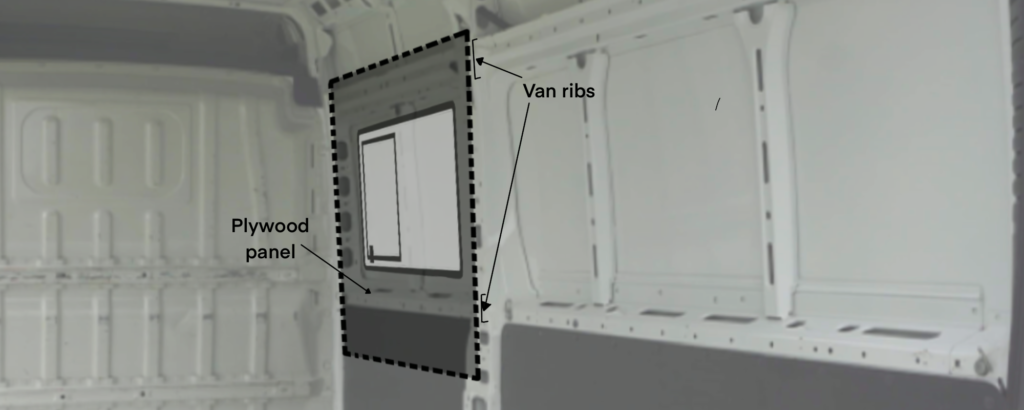
Use half a sheet of 12mm plywood (4′ x 4′) to act as the wall for the window sill/frame to sit into.
Place the plywood in the desired position- completely covering the window and the ribs of the van.
Note: we positioned the plywood to extend up above the window area to create a strong structure to fix our overhead cabinets to.
Next, roughly estimate where the window will be situated on the plywood.
Using the measurements taken in step 2 plus the depth of the material you will be framing the window frame with (we recommend 18mm), cut out a window-shaped hole in the plywood.
Using a jigsaw, start by cutting a small central hole and gradually increase the size until it matches the measurements.
This step takes a lot of time, patience, and trial and error.
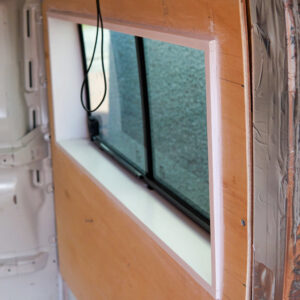
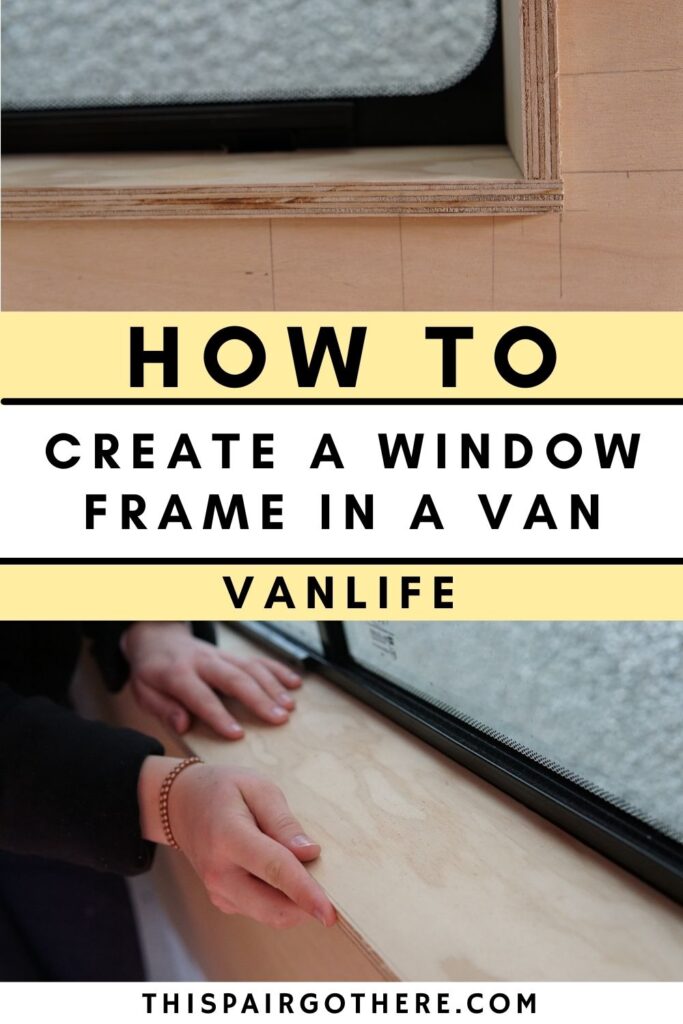
Step 4 – Create the window sill/frame
It’s finally time to get to work on the part that will actually be seen!
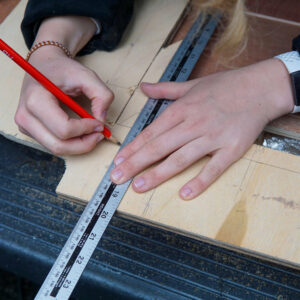
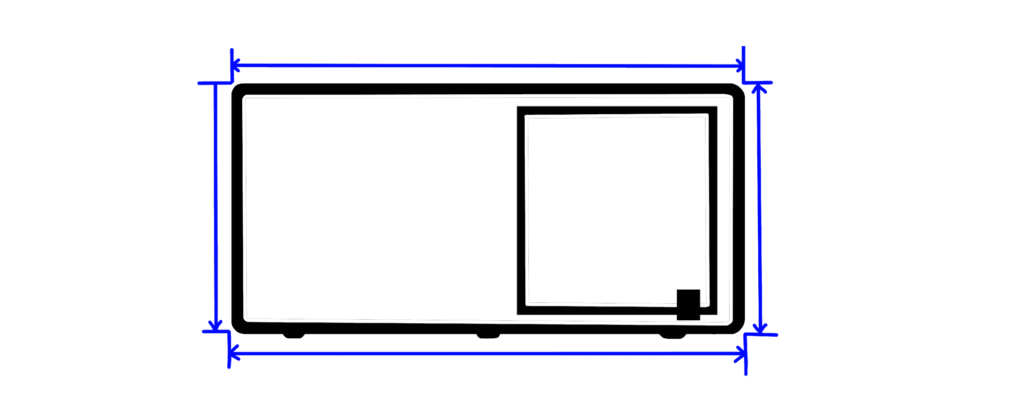
Measure
Measure the height, length, and depth of the window frame (the inside dimensions of the window cut out/ window frame made from battens). Sketch them down on a piece of paper, and calculate the size each piece needs to be.
Note: the depth of the frame/sill pieces should account for the depth of what you clad your van in and overhang. For example, we chose to clad our van in 5mm plywood. Therefore, the depth of our frame/sill is the distance from the window to the outside of our plywood frame + 10mm (to account for the cladding and how much we wanted our frame to protrude).
Cut
We recommend using 18mm plywood for the frame if you intend on painting it white. If you want a nice wood finish use a more premium material like oak.
Cut the pieces to the exact measurements. The vertical pieces should be the full height of the frame, the horizontal pieces fitting snuggly between them.
For a straight edge use a table saw, or if you don’t have one, a circular saw. This will allow you to cut precise straight edges with minimal room for human error!
Note: The vertical pieces are the most challenging as you will how to account for the varying depths due to the sloping nature of the van. They may require a degree of trial and error until you are completely satisfied with them.
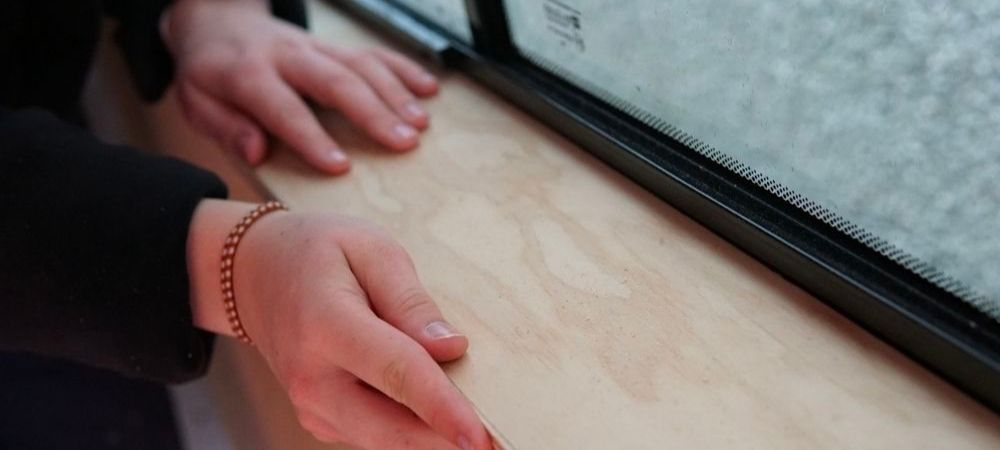
Test fit
Once you have cut the pieces to size, make sure they fit snuggly into the frame you’ve made out of plywood.
Note: You may need a helping hand to do this as it can be tricky trying to get 4 pieces of wood to stay in place.
It should be a tight fit, so don’t be worried if it needs a bit of brute force.
When we trial fitted our window frame we noticed that the bottom sill piece was not sitting tight up against the window. We simply cut a couple of notches where the window stuck out. This fixed our problem instantly.
Secure the window frame together
The window frame doesn’t require much strength from screws due to it being inserted into such a rigid panel.
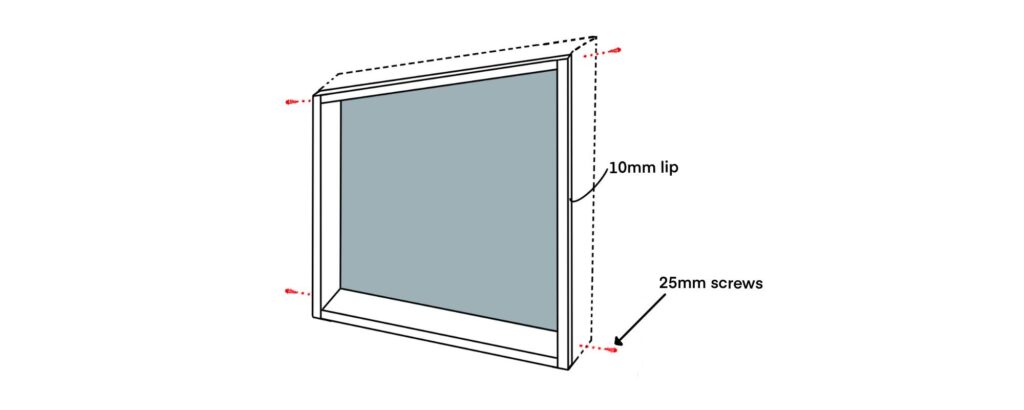
A single 25 mm screw in each corner is sufficient for the structure to maintain its shape.
This will also allow a little bit of movement if required when inserting the frame into the wall.
The screws should be placed at the top and bottom of the vertical panels. They should also be placed reasonably centrally (at least 30mm from the front) in order for them to not be visible or interfere with the plywood panel).
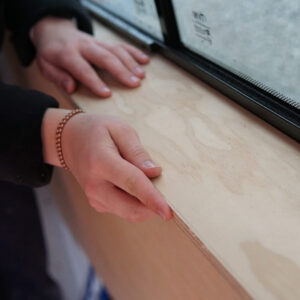
Step 5 – Trail Fit 2.
Once you have fixed the frame together, trial fit it once again before taking on the next step.
To do this, push the window frame through the back of the plywood panel created in Step 3. Next, transport it to the window and make sure the frame sits in position nicely. When in the desired place use a pencil to mark where the frame is in line with the plywood wall. This will allow you to assemble the panel and frame outwith the van. These marks will indicate how far you need to push the window through prior to securing it in place.
Step 6 – Sanding
Remove the frame from the panel and sand down any rough edges. This will improve the finish of the window frame, and may even make it easier to insert the window frame into the plywood panel.
Step 7 – Attach the frame to the plywood panel
Once you are happy with the construction of the frame and the results of the trial fit, it is time to secure it to the plywood panel made in step 3.
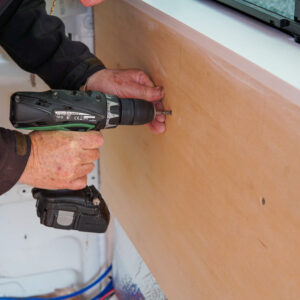
Firstly, attach small scrap battens to the wall frame as shown in the diagram below. These will be essential to ensuring the window frame is securely held in place.
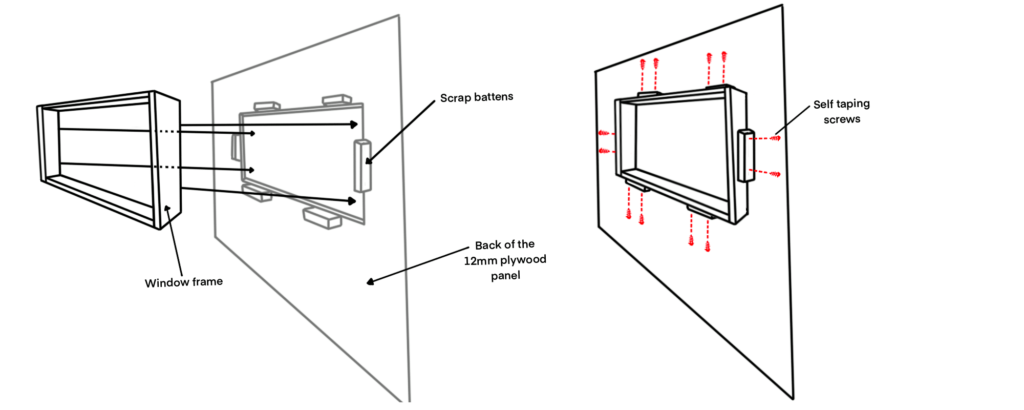
Next, push the window frame through the plywood panel from the back until the marks made in the previous step are visible. Once they are all visible and aligned, drill 30mm self-tapping screws through the battens and into the frame to secure it into position. We recommend using at least 2 screws per batten.
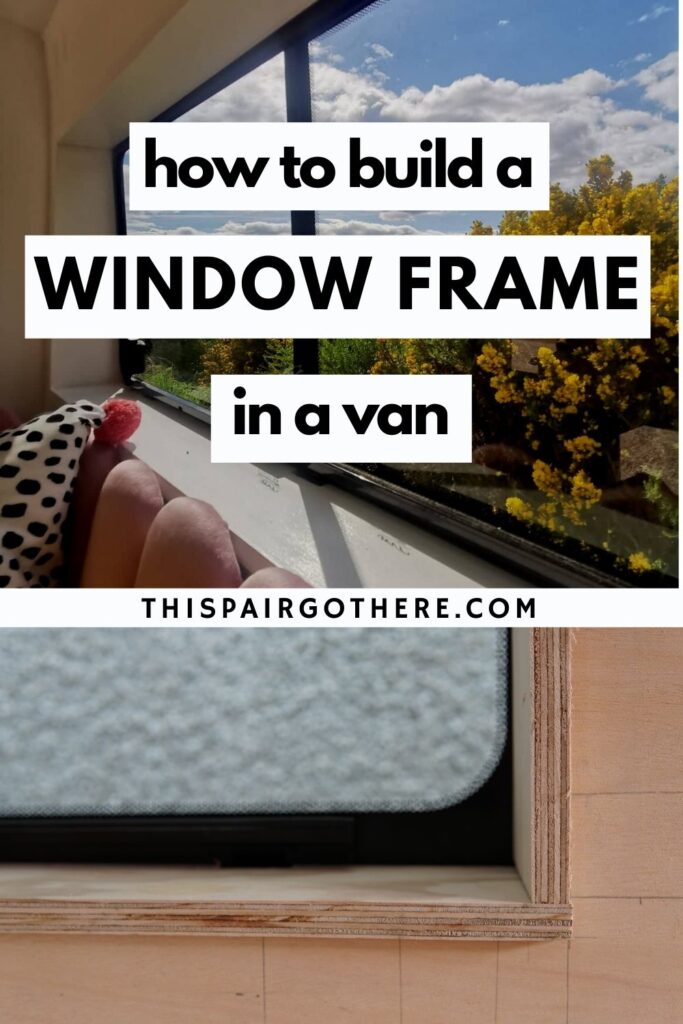
Step 8 – Finish the window frame (paint)
Prior to mounting the panel to the wall, we highly recommend applying at least the first layer of paint (or wood stain) to the window frame. As the frame is so close to the window it will be much trickier if you wait to do this until it is in position. You may also wish to caulk the inside of the frame for a smooth finish.
Step 9 – Attach plywood panel to the wall (optional)
Once you are completely satisfied with the hole you have cut, it is time to secure the plywood panel to the structure of the van.
To achieve the most secure connection to the van we recommend using M6 rivet nuts.
Attach the rivet nuts to the ribs of the van as they protrude the furthest, making them the ideal spot to place them. We recommend 4 rivet nuts on the top and bottom ribs. There may even be holes pre-drilled into the ribs making the process slightly easier.
Rivet nutting such a large panel can be tricky as it requires you to match drill with a high degree of accuracy.
If you do not wish to use rivet nuts, self-tapping screws will work. We recommend using a fair amount more as they aren’t as strong as rivet nuts – perhaps 8 on top and bottom.
Note: Make sure to countersink/route where the screws/bolts are on the panel as it needs to be flush so the cladding will lay neatly on top.
Conclusion
Although this method isn’t the norm, we believe it is the best. Its clean finish combined with the additional strength of rivet nutting 12mm plywood to the van’s skeleton simply cannot be matched by battens. It also provides the perfect foundation/anchoring point for installing overhead cabinets to – what more could you want?
Feel free to ask us questions regarding our window frame, whether it is about materials, price, time, or whatever else. You can always find us in the comments.
Next Step: Framing and Cladding.