
Instructions
During the build process, there will be 2 types of templates – upright and flat. We will tackle both of these the exact same way.
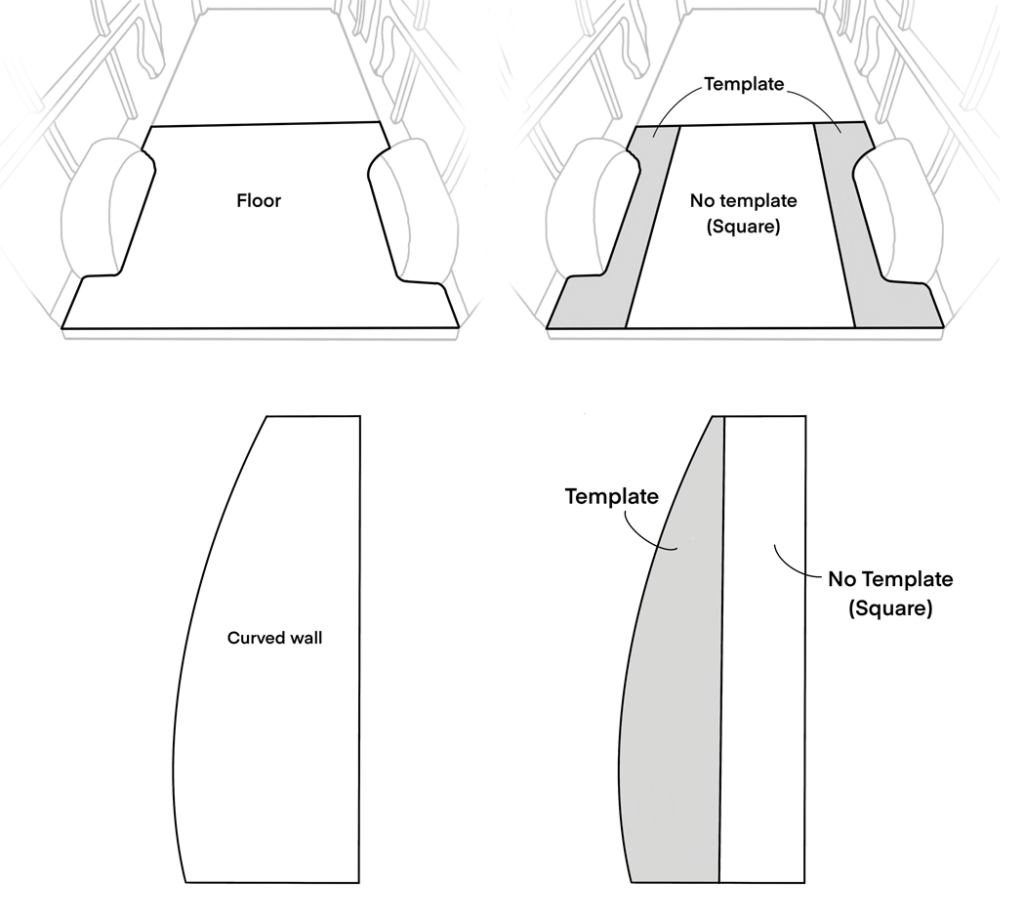
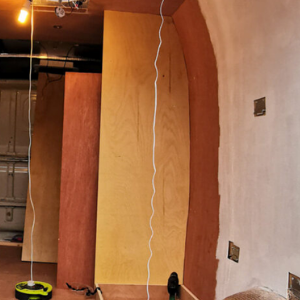
Step 1 – Split Up The Area Needing A Template
The first thing you need to do is figure out how much of the area you need to create a template for. There are a couple of examples below which show how you should split up your area. You should try to only spend time making the template for the area that is actually curved/angled. Once you have the curved templates created you can easily add in the square parts.
Step 2 – Gather Cardboard For Template
This seems like the most obvious step ever. The cardboard you use will need to be larger than you need. You will cut away at it a couple of times to perfect your template.
Don’t hesitate to use anything you have at your disposal. We taped together multiple pieces of cardboard to create lots of our templates. For upright templates, firmer cardboard that can stand on its own is preferable.
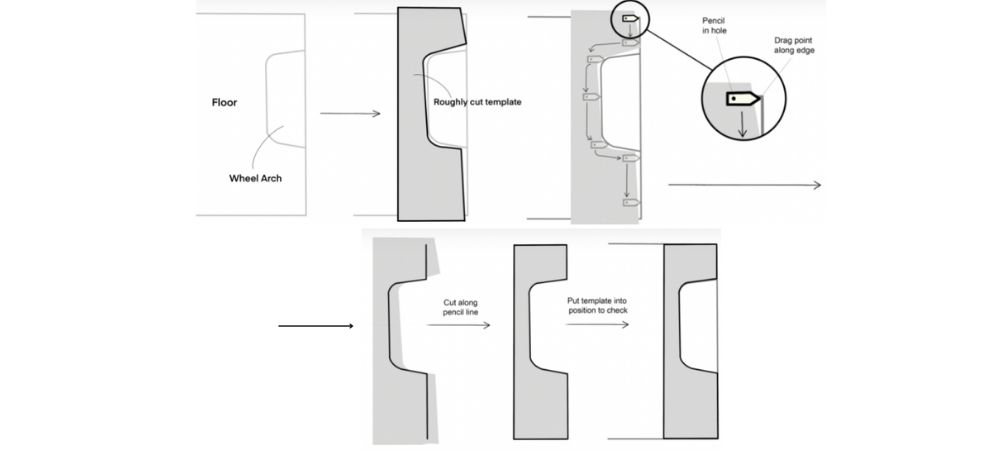
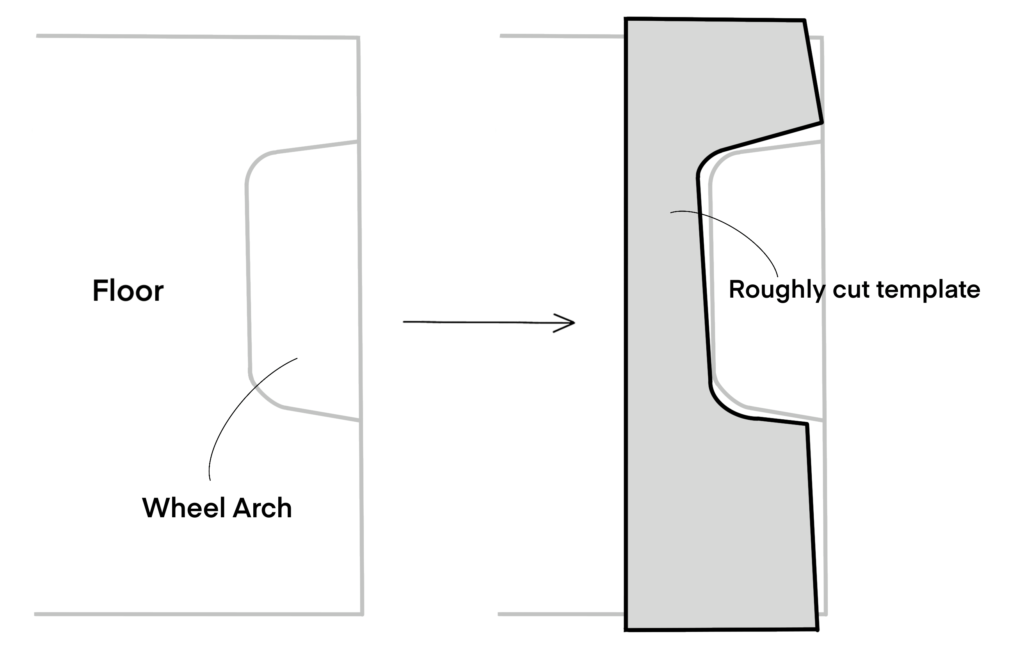
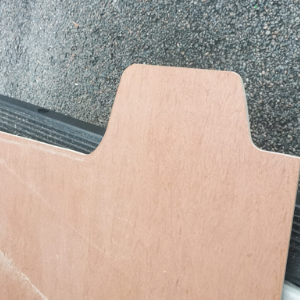
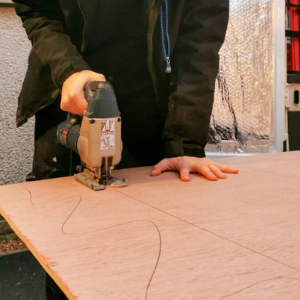
Step 3 – Roughly Cut Curve
You definitely don’t have to be accurate with this step. Just eyeball the shape and chop your cardboard. It’s easiest to cut it with a Stanley knife for speed. The purpose of this step is to reduce the distance from your edge/wall to your cardboard template.
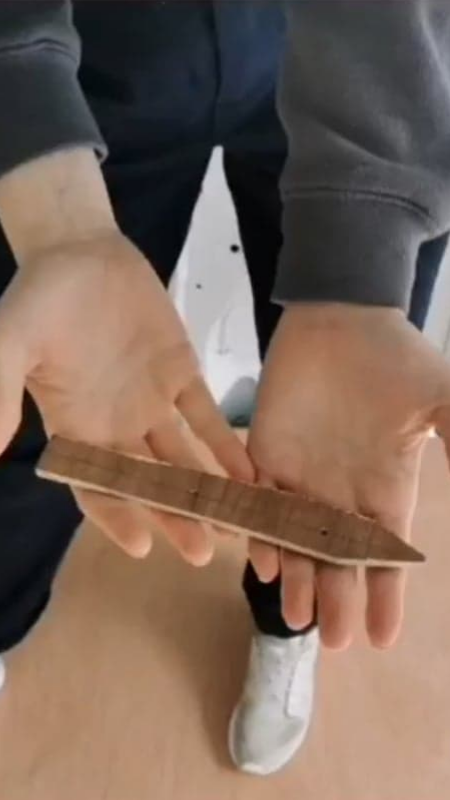
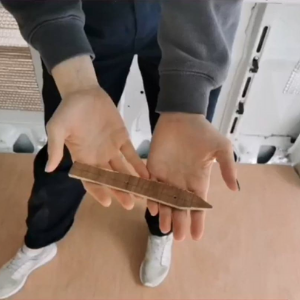
Step 4 – Create Tracing Tool
Below is a diagram of what your finished tool should look like. It is essentially a piece of sturdy material with a point on one end and a hole at the other. The hole needs to be wide enough for a pencil to draw through.
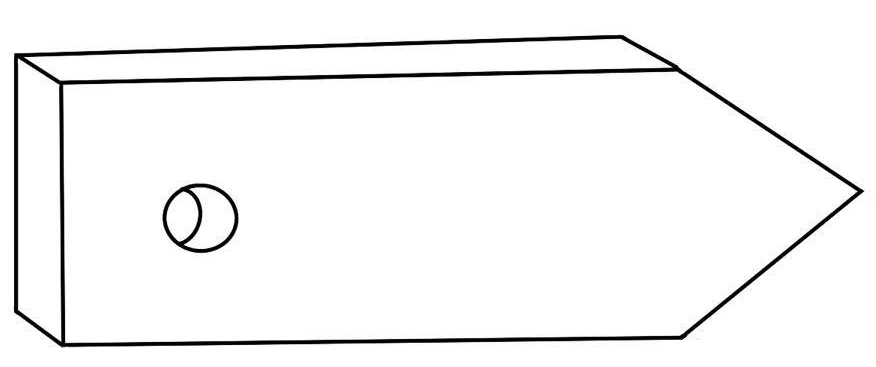
You can create this tool out of almost anything. We used 5mm ply for the little tools we made. The shape of the tool itself is nothing crazy – just something simple you can quickly cut with a jigsaw.
The distance between the end of the point and the hole needs to be larger than the maximum distance away your template is from the edge you are trying to trace.
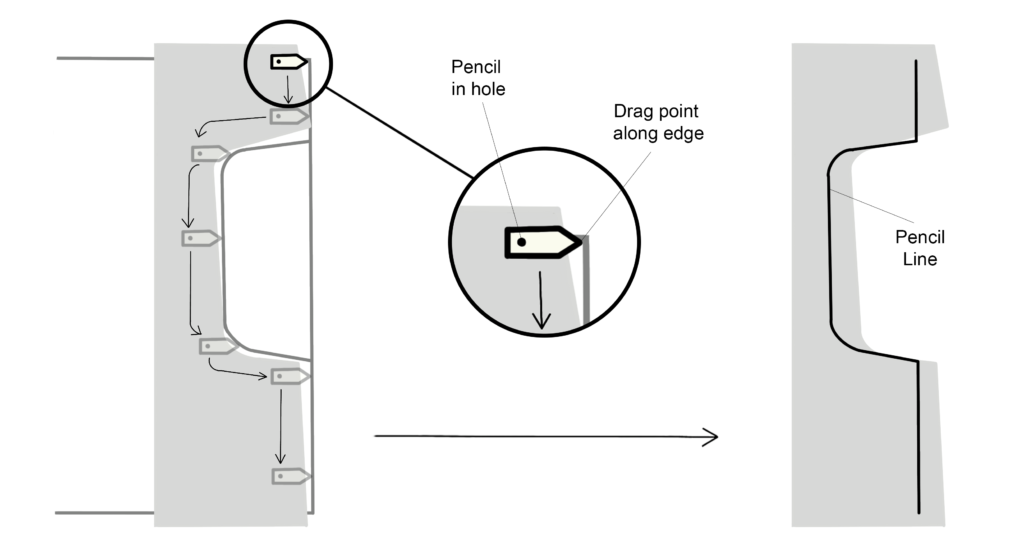
Step 5 – Trace your shape
Place your roughly cut template as close as possible to the curve you are trying to trace. Now it’s time to use your nifty tool. Place the point of the tool against the curve you want to trace and put a pencil into the hole in the tool.
Drag the tool along the curve – do this slowly and keep it controlled. Make sure to keep the tool perpendicular to the direction you are dragging it. The diagram below shows an example of this.
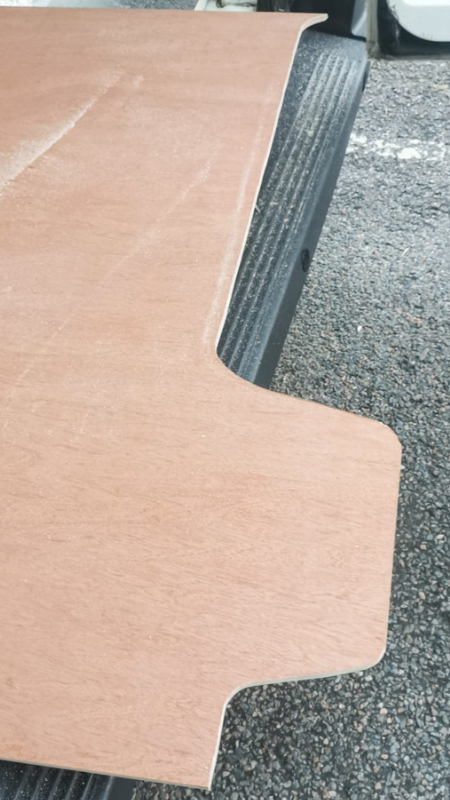
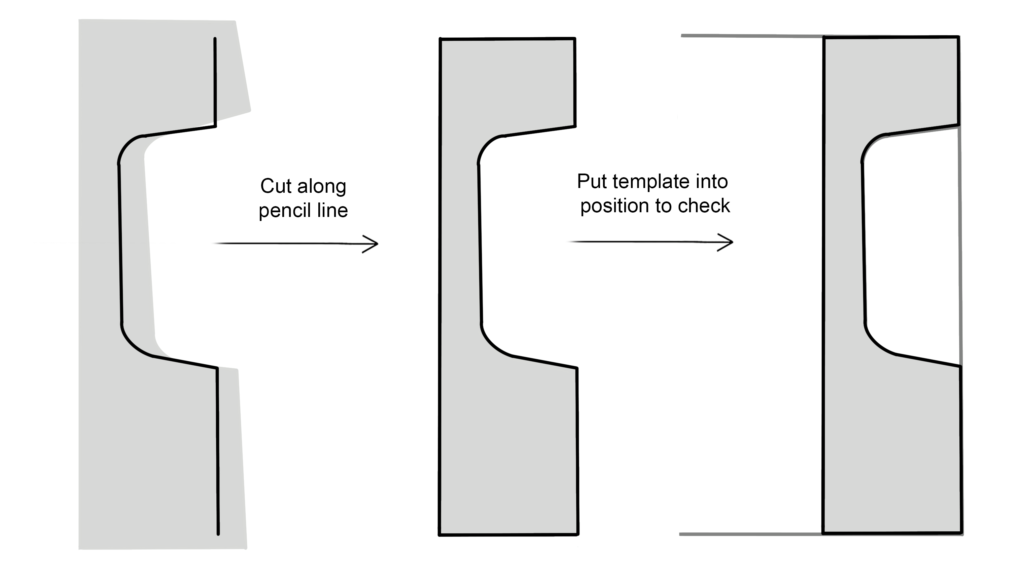
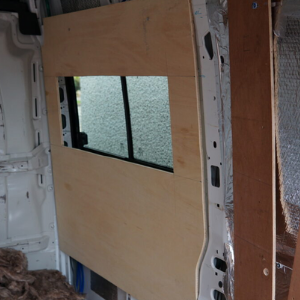
Step 6 – Review Your Tracing Template
Cut your cardboard along the line you have just traced then put it into its position. On complicated shapes don’t expect to get it perfect first time! If you’re not happy with your trace simply repeat the tracing process again. To save material drill a hole closer to the point on your tool. We found that the second tracing was always so much more accurate than the first!
Conclusion
It’s often the tricky little jobs nobody notices that take up the most time during a van build. Creating these little tracing curve template tools makes the whole process of following curves easier and saves a hell of a lot of time!
If you don’t fancy creating your own tool there are many tools you can buy online to help you trace your curves. We recommend this pack on amazon.
Have you come up with any time-saving solutions during your van build or any nifty little tricks? If so we’d love to hear them! If you have any additional questions, please leave a comment below and we will get back to you very soon.


This is really interesting and great information. Thank you.