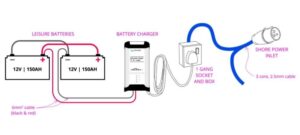
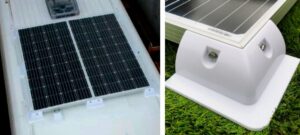
Shore power is the method of charging your leisure batteries...
Read More
Total Cost
£1500 – 2000
(full breakdown coming soon)
Total Time
8 hours
Wiring the electrics in a van can be daunting, but it doesn’t have to be!
These step-by-step guides have been carefully curated to take away some of the stress, frustration, and confusion.
Disclaimer: We are not qualified electricians. All of our skills are completely self taught through a lot of research. We hope you find these guides helpful, but keep in mind this is not professional advice. Playing with electrical systems can be dangerous so be sure to consult a qualified professional if you are unsure.
All of the van electrics information provided is based on our own electrical system we built in our van. Our van runs fully on battery power (no gas) – so if you are planning on powering your van with a different method the set up it may be different. Full downloadable wiring diagram coming soon.
Basics
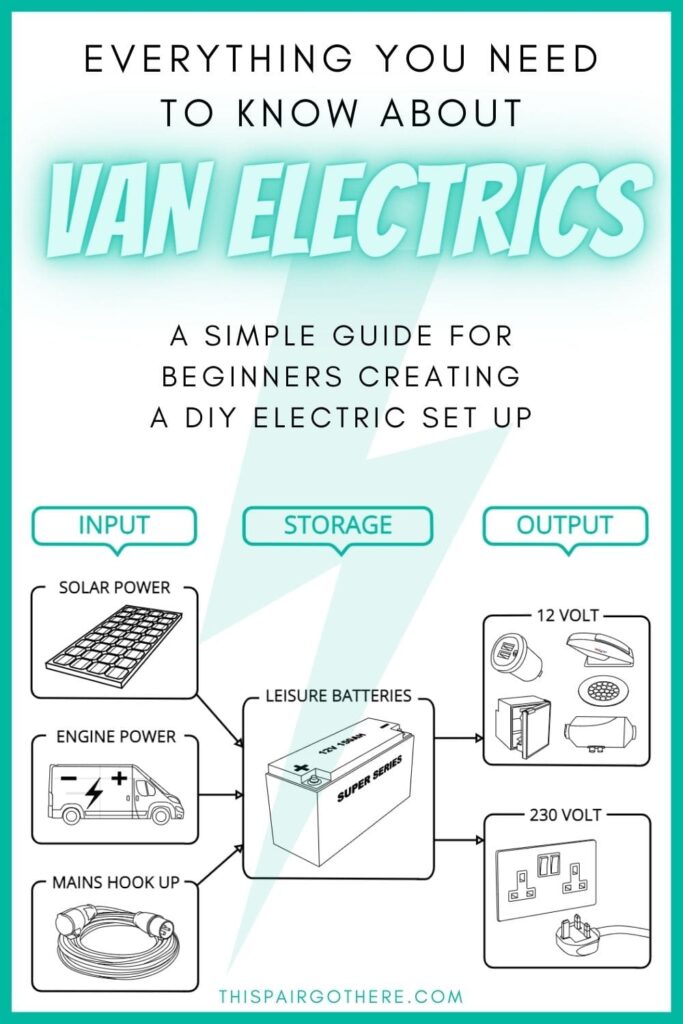
Tackling the electrics in your van build can feel like a mammoth task, especially when you are starting from scratch with no experience in the field. We found that working through the electrics in manageable chunks really helped us avoid feeling overwhelmed. We have individual guides on each section of the overall electrical system, but to begin, here is an overview of how to break the electrical system into simple sections.
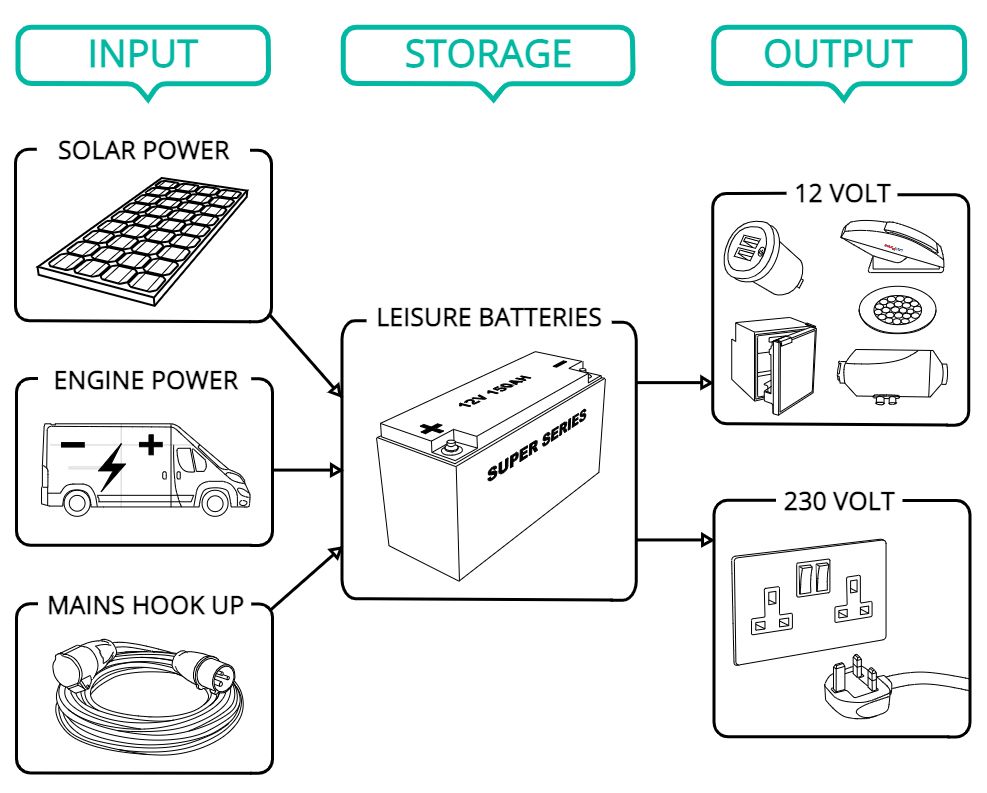
Input
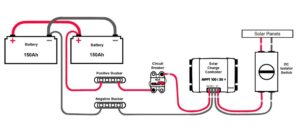
The input section of the van electrics system is how we charge the batteries. To have a sustainable off-grid system we need a way of effectively replacing all the charge we have used to power our electricals. There are a few different ways to charge your leisure batteries – Solar power, split charge and mains hook up.
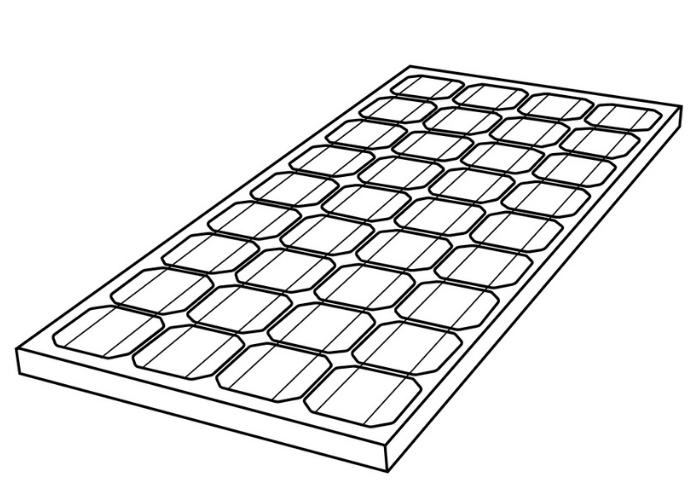
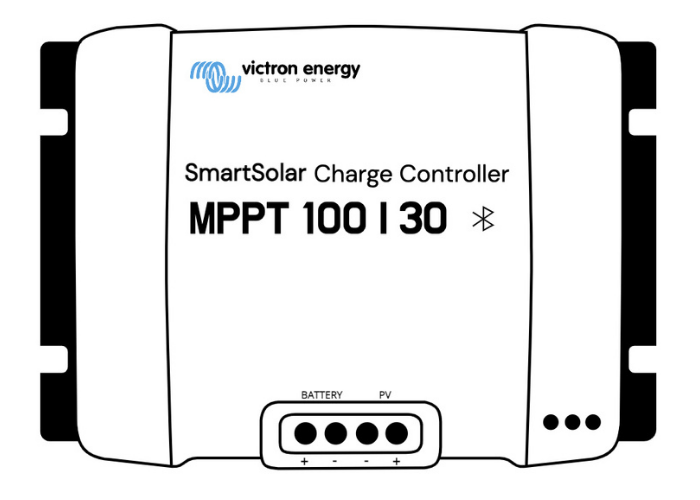
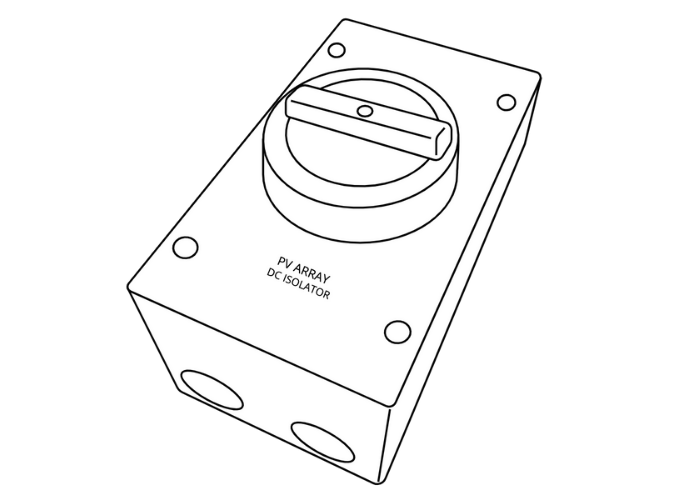
SOLAR POWER
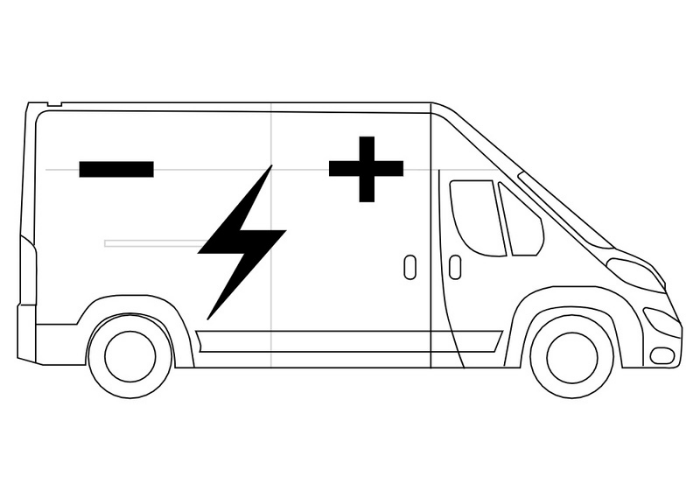
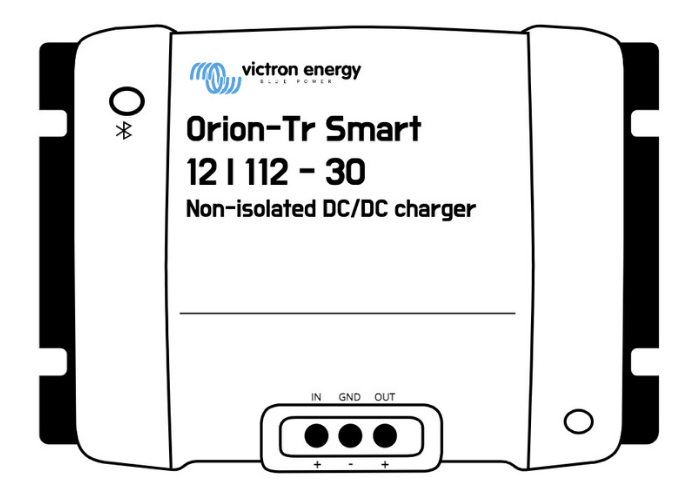
ENGINE SPLIT CHARGE
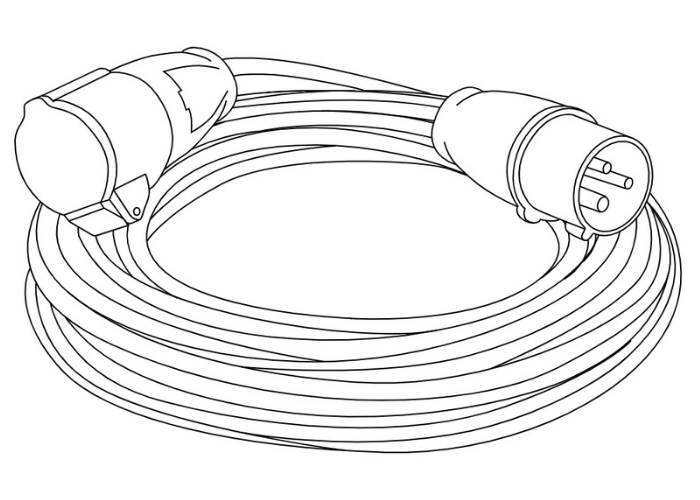
MAINS HOOK UP
Storage
The battery, or batteries is the heart of your electrical system, without it you would not be able to power any of your electricals. The role of the leisure battery is to take in energy from the inputs, store it, then release that energy to the outputs, also known as loads. There are many different types of batteries to choose from, all of which come at very different price points. We have detailed the pros and cons for the two main types of batteries below.
Lithium
Pros:
- More compact, smaller is size and weight
- Can use full charge without affecting health of battery
- Long life expectancy
Cons:
- Expensive
AGM
Pros:
- Less expensive
- Good in freezing temperatures
Cons:
- Depth of discharge – can only use around 50% of the battery capacity
- Life expectancy is around 50% less than Lithium
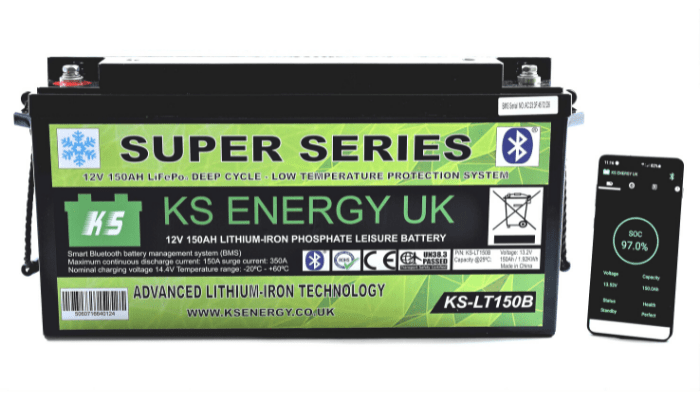
OUR BATTERY
We opted for two 12V, 150AH batteries from KS Energy. We chose these batteries for a number of reasons.
- 2 of these batteries wired in parallel gives us the energy we need to power all of our electricals (12V , 300AH).
- the bluetooth connectivity allows us to check on the status of the battery on our phones / tablets without the need of unsightly plastic displays.
- These batteries were reasonably priced when compared to different brands batteries with the same capacity.

OUR BATTERY
We opted for two 12V, 150AH batteries from KS Energy. We chose these batteries for a number of reasons.
- 2 of these batteries wired in parallel gives us the energy we need to power all of our electricals (12V , 300AH).
- the bluetooth connectivity allows us to check on the status of the battery on our phones / tablets without the need of ugly plastic displays / monitors.
- These batteries were reasonably prices when compared to different brands batteries with the same capacity.
HOW TO CHOOSE THE RIGHT BATTERY FOR YOUR SETUP
To help determine which battery you should buy, you will first need to know how much energy you will require to power your electrical system. You will need to calculate how many amp hours (AH) you require.
There are lots of different sites which have excellent battery size calculator such as these :
It is important to note that how you wire together your batteries effects its power output. Wiring batteries in parallel will keep the voltage constant (12V) and add the current together (AH). The below diagrams show how your batteries can be wired in both series and parallel. We personally wired our batteries in parallel to keep the van electrics system as a 12V circuit as well as maximising current output to power our electricals.
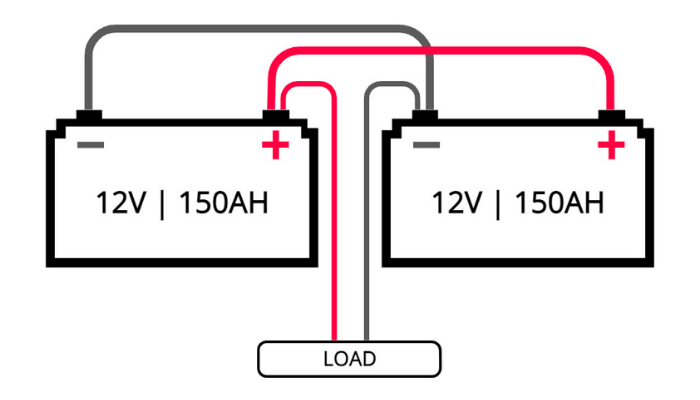
PARALLEL
Batteries are wired positive to positive terminals and negative to negative terminal.
The voltage stays the same and the current is added together in this set up.
12 V
(150 +150) = 300 AH
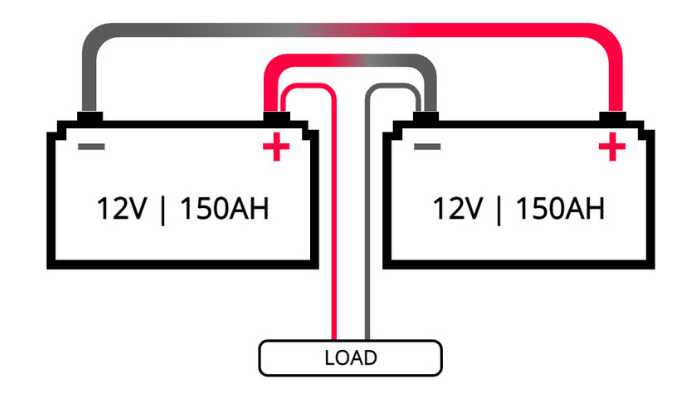
SERIES
Batteries are wired in a continuous loop, positive terminals connected to negative terminals.
The voltage is added together and the current stays the same in this set up.
(12 + 12) = 24V
150 AH
Output
The output is where the battery distributes its charge to your electrical goods, also known as loads. Different appliances require a different type of power for them to function properly. Electricity comes in two forms—alternating current (AC) and direct current (DC). To understand how this affects our electrical circuit we need to understand the basics of AC and DC Power.
12V DC
DC power is what is supplied directly from your leisure batteries.
If your appliance has a positive and negative to connect to, it will likely be in your 12V DC circuit.
The 12V DC electric circuit is where you will power most of your appliances from. Luckily this portion of the electrical setup is pretty straight forward.
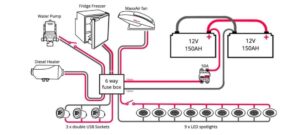
The post below guides you through how to set up the 12V portion of your van electrics.
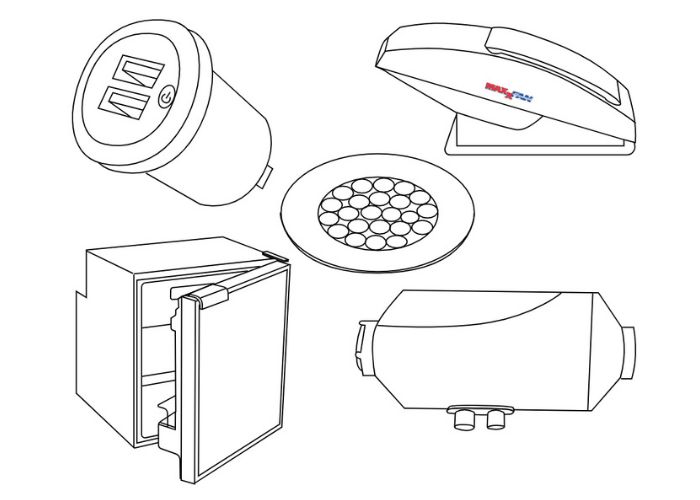
12 VOLT CIRCUIT
12 VOLT CIRCUIT
230V AC
AC power is the standard electricity that comes out of power outlets
To make it as basic as possible, anything that you plug into the wall in your home is AC (generally 230V)
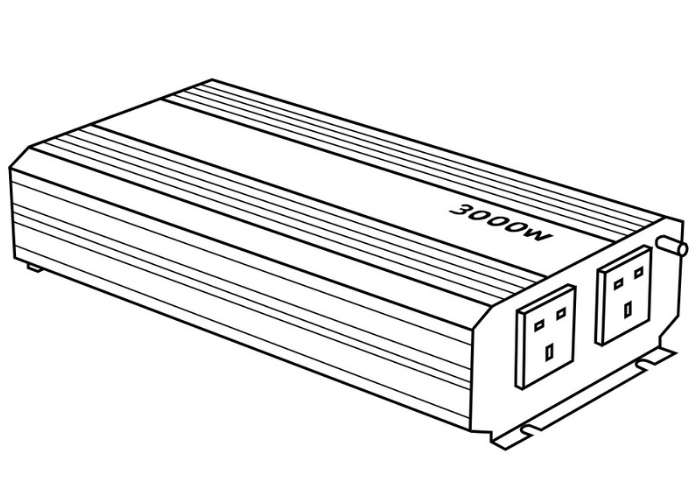
To use your AC appliances in your van you need to convert the DC power from your leisure battery into AC using a power inverter.
A post breaking down exactly how to wire this portion of your electrical setup coming soon.
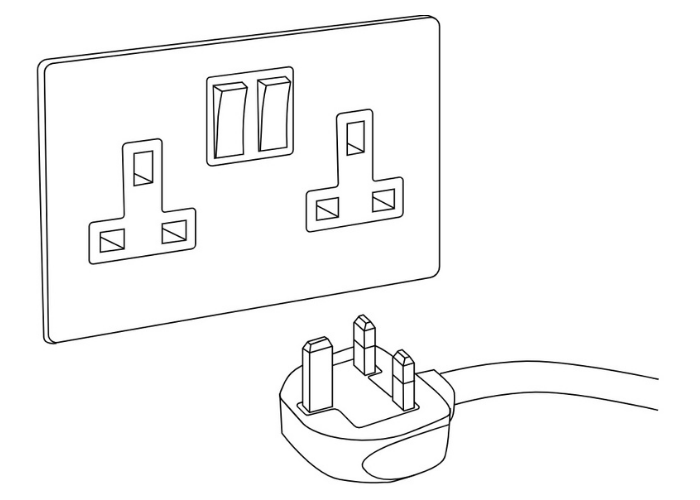
230 VOLT CIRCUIT
230 VOLT CIRCUIT
Van wiring essentials
How To Install A Campervan Hook Up Socket
Shore power is the method of charging your campervans leisure...
Read MoreHow to wire a 12V Campervan Electric setup
The 12V electric circuit is where you will power most...
Read MoreHow to Install a Chinese Diesel heater in a Van
Find out how to install a Chinese diesel heater in...
Read MoreInstalling a DC-DC Charger In A Van
A DC/DC charger is a great addition to any campervan...
Read MoreHow to Install Solar Panels on your van
A step by step guide to installing solar panels. Diagrams...
Read More