
STEP 1 – Find the right size of solar panel for your needs.
There are several key factors you have to consider prior to purchasing solar panels.
1. How much space do you have available on the roof of your van?
Unfortunately, the roof isn’t an infinite space and is often not a blank canvas as fans, skylights, and other bits and bobs get in the way. Measure the roof of your van to see the maximum length and width the solar panels can be.
Note: you do not want the solar panels to protrude over the sides of your van as it will make the panels vulnerable to getting damaged.
2. How much power you will need?
This can vary drastically as everyone’s needs are different. To figure out how much power you will need you will have to make a list of EVERYTHING in your van that will pull power from your battery (including; appliances, lights, water pumps, etc.).
Thankfully, there are many free super handy solar power calculators online… we recommend this one here.
3. How much are you willing to spend?
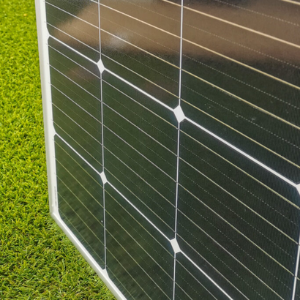
This will not only determine how much power you can afford but may also dictate what type of solar panels you buy e.g. monocrystalline/ polycrystalline/ thin film, etc.
Currently (December, 2020) the most efficient type of solar panels on the market are monocrystalline.
Once you have answered these questions you will be able to narrow down what solar panels will work best for you.
Note: Solar panels can be connected together with screws to make one big panel. This will make installing 2 solar panels much neater and save some valuable space.
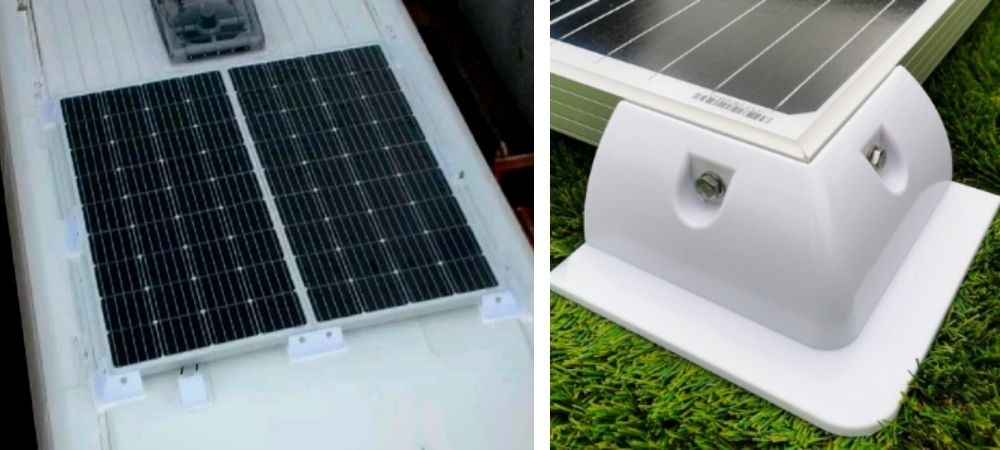
Once satisfied with your decision order the solar panels, mounting corner feet and side feet, wires, and connectors.
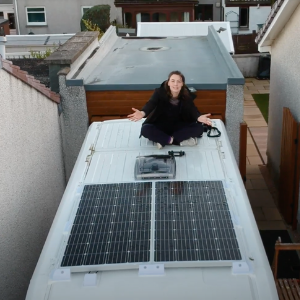
We opted for 2x 185W monocrystalline panels from sunshine solar, this was predominantly due to the limited size we had on the roof of our van.
STEP 2 – Remove the packaging
As obvious as this may sound, it certainly caught us off guard.
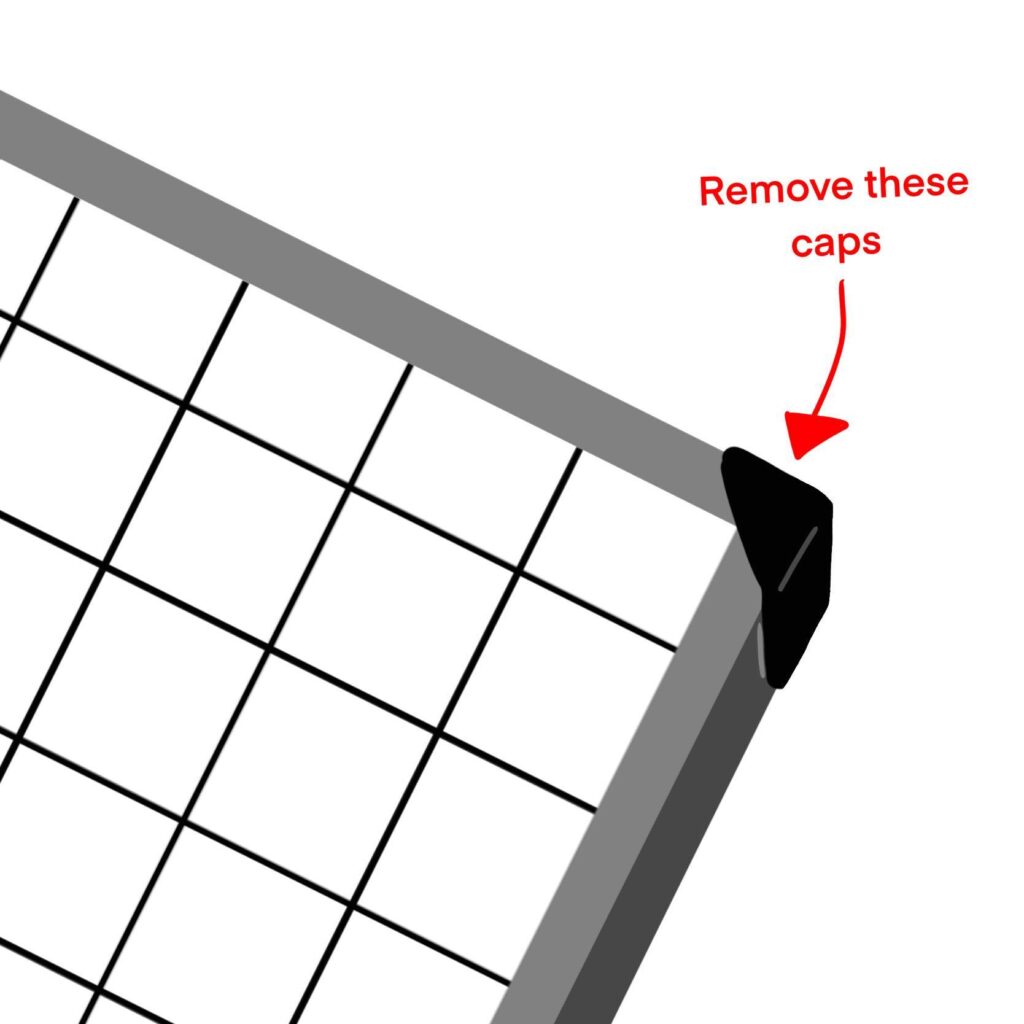
Your solar panels will be packaged with plenty of protection. This may include bubble wrap, foam, and even small plastic corner caps.
The plastic caps on the corners are intended to be removed (even though they look like they shouldn’t). Although it may feel wrong, the only way to do this is by using a bit of brute force!
STEP 3 – Join the solar panels together (OPTIONAL)
If you have bought 2 panels that you plan on configuring into one large panel then this step is for you. If you just bought one panel, skip to STEP 4.
- Align the sides of the solar panels and stand them upright.
- Mark on the side of one of the panels where you want to connect the panels. We recommend 4 connection points for optimum security… and peace of mind!
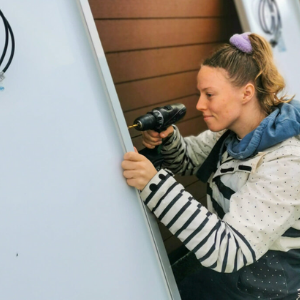
- Drill a pilot hole through the mark previously made on one of the solar panels in preparation to match drill them.
- Align the panels and drill through the pilot hole into the other panel.
- Expand these holes to 6.5mm
- Align the panels and secure them together with an M6 nut and bolt (using a spanner and ratchet).

STEP 4 – Connect the panels together (wiring)
We chose to wire our solar panels in series as it is simpler to wire up, and also typically produces a higher power output under normal circumstances. Therefore the instructions below are detailing how you should connect solar panels in series.
For more information regarding series/parallel wiring, and what is best for you, check out the resources linked below.
https://www.renogy.com/learn-series-and-parallel/
https://www.vanlifeadventure.com/campervan-conversion/campervan-solar-power/
If you are using 2 (or more) panels, connect the panels in series in preparation for mounting the solar panels onto the roof of your van.
To do this simply connect the positive wire to the negative wire. See diagram below. By doing this you are basically creating one large solar panel.
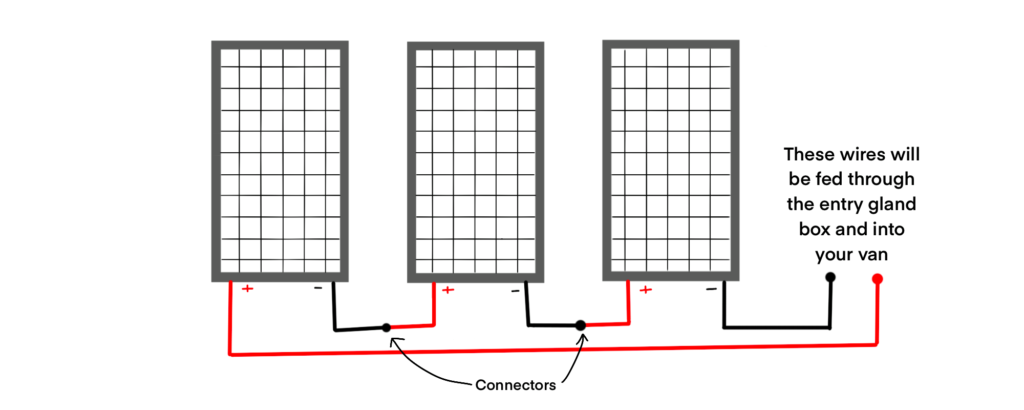
Connect the wires and connectors that will be fed through the roof to your solar charge controller (they are often both black, therefore we advise putting tape on one to indicate it’s the positive wire).
For further information, we found this video extremely informative.
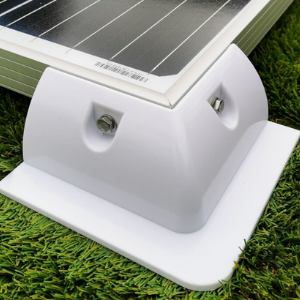
STEP 5 – Attach the feet mounts to the panels.
The size of the solar panel will dictate how many feet you need. If you are planning to install solar panels that are larger than 100W on your van it is generally advised to use 6+ feet (4 corners, 2/4 sides).
Our panels combines equaled 370W, therefore we used 8 feet.
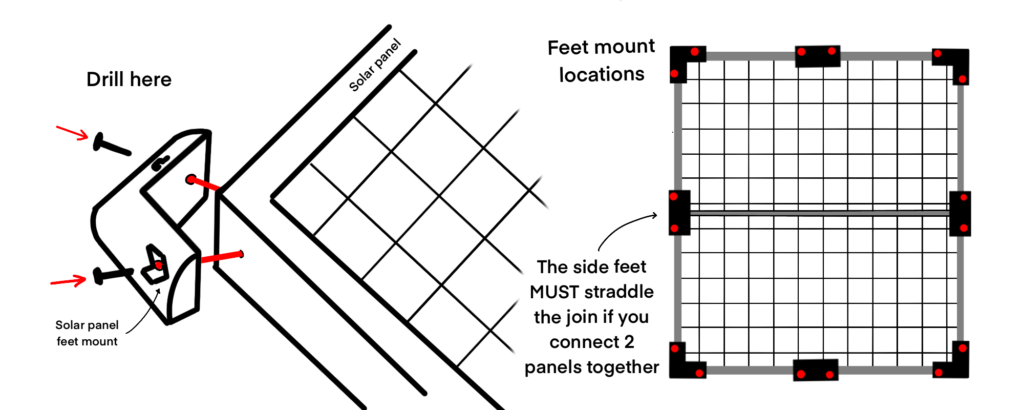
Note: if you have connected 2 panels together, the side feet should be mounted at the joining point of the two solar panels to strengthen it and stop the panels from sagging in the middle.
To attach the feet follow the steps below and reference the diagram.
- Place the feet in the desired location and drill a pilot hole through the foot and into the panel. The feet have pre-selected areas to drill through, use these as a guide.
- Expand the hole (on the panel and foot) to 6.5mm.
- Secure the foot in place using an M6 nut and bolt.
- Repeat steps 2-3 for the other pre-selected drilling areas of the foot.
- Repeat steps 1-4 for the remainder of the feet
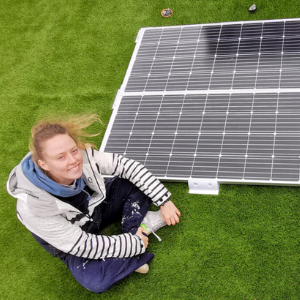
STEP 6 – Trial fit the solar panel/panels
This step requires 2 people.
Once the feet are attached it is time to install the solar panels on the roof of your van.
This will allow you to finalise the position of the panels and mark on the roof where to apply the adhesive.
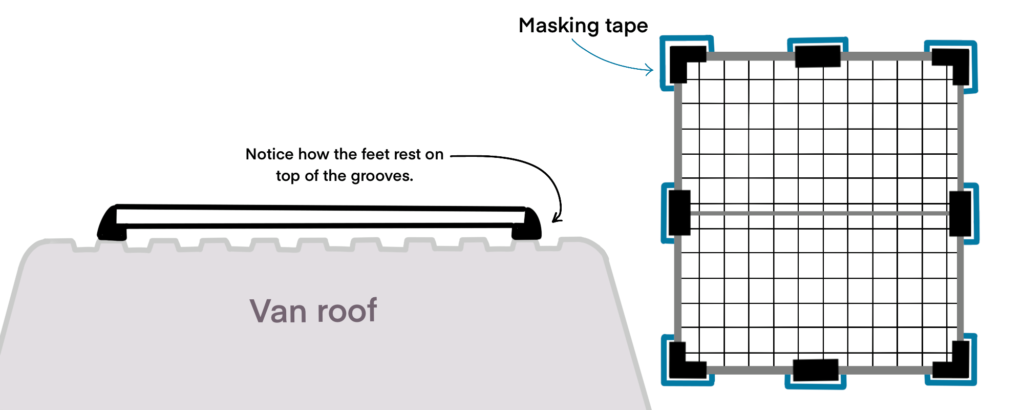
Note: you will want to position the feet on the high parts of the ridges.
Simply apply good quality masking tape 5-10mm from the edge of the feet. This will act as a guide to where to put adhesive and will stop unsightly spillage.
STEP 7 – Apply the adhesive to the roof
Clean the roof thoroughly. Do not remove the masking tape.
You may even wish to sand down the areas that the feet attach to in order for the adhesive to grip the roof better. This step is optional, we chose to avoid it as our paintwork was in good condition.
Note: the Sikaflex sticks to the paint… not the roof, so if your van isn’t reasonably new, and/or in good condition, then we recommend securing the panels to the roof with screws.
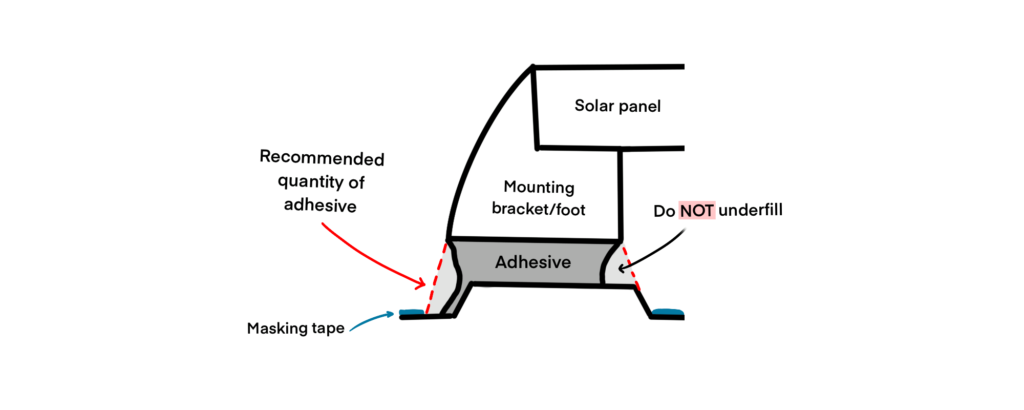
Once the roof is prepped, use 2 1/2 tubes of Sikaflex 522 to fit in the areas where the feet sit (Leave 1/2 a tube for potential touch-ups later).
STEP 8 – install the solar panels to the roof of your van
Slowly and EXTREMELY carefully lift the panels onto the roof. Make sure not to touch the adhesive prematurely as it makes a terrible mess. Also, if it gets on the panels and dries it may impact their performance.
Using the masking tape markings as a guide, lower the panel down onto the adhesive.
Press down firmly for at least 5 minutes, making sure to get the strongest possible bond.
STEP 9 – Clean up the edges
Sikaflex is an incredible adhesive, however, it also spreads like wildfire.
After examining the connection between the feet of the solar panels and the roof, you may wish to add more Sikaflex around the sides for added security. It is important that none of the areas beneath the feet are undercut.
Dip your finger in soapy water and run it along the edge of the adhesive. This will not only remove any excess that has squeezed out, but will give the adhesive bond a more polished finish. It will appear much smoother… not that you will see it again!
After you are completely satisfied with the adhesive bond around the feet remove the masking tape and let it completely dry.
Note: the masking tape must be removed before the Sikaflex dries.
Do not move the van for at least an hour whilst the adhesive sets.
STEP 10 – Get the wiring inside the van
Once you have finished the install of the solar panels, you will need to feed the wires through the roof of the van. Thankfully this step is fairly simple.
- Find a position to put the Entry gland box and mark around it with masking tape for reference.
- Drill 2 holes in the roof of your van (in the masking tape box just created) where you would like the wires to be fed through. We opted for holes around 10mm wide. Once drilled, sand the hole to make sure that there are no sharp pieces of metal that could potentially cut into the wires.
- Thread the two wires from the solar panels through the Double Cable Entry Gland Box
- Feed the cables through the holes you have drilled in the roof. Make sure to keep track of which cable is positive and negative – we marked one with coloured electrical tape to avoid confusion.
- The Cable Entry box is mounted the exact same way as the panels – using Sikaflex. The box should sit directly above the drilled holes. Make sure it is pressed down firmly to create a strong bond between the box and the roof.
- Leave to dry for an hour.
Conclusion
It is always daunting installing an expensive bit of kit. However, if you follow this guide it really doesn’t need to be. Surprisingly, installing solar panels is one of the “easier” jobs when converting a van.
Feel free to ask us any questions about the van, whether it is about materials, price, time, or whatever else. You can always find us in the comments.
NEXT STEP: Connecting the solar panels to the solar charger.
IF YOU LIKED THIS POST, PIN IT…. PRETTY PLEASE XOXO


Pingback: How To Cover Solar Wires On A Campervan Roof? | Justdownsize
Pingback: DIY Van Build Solar Electrics - This Pair Go There